
DYCP - patination part 1
What is this all about?
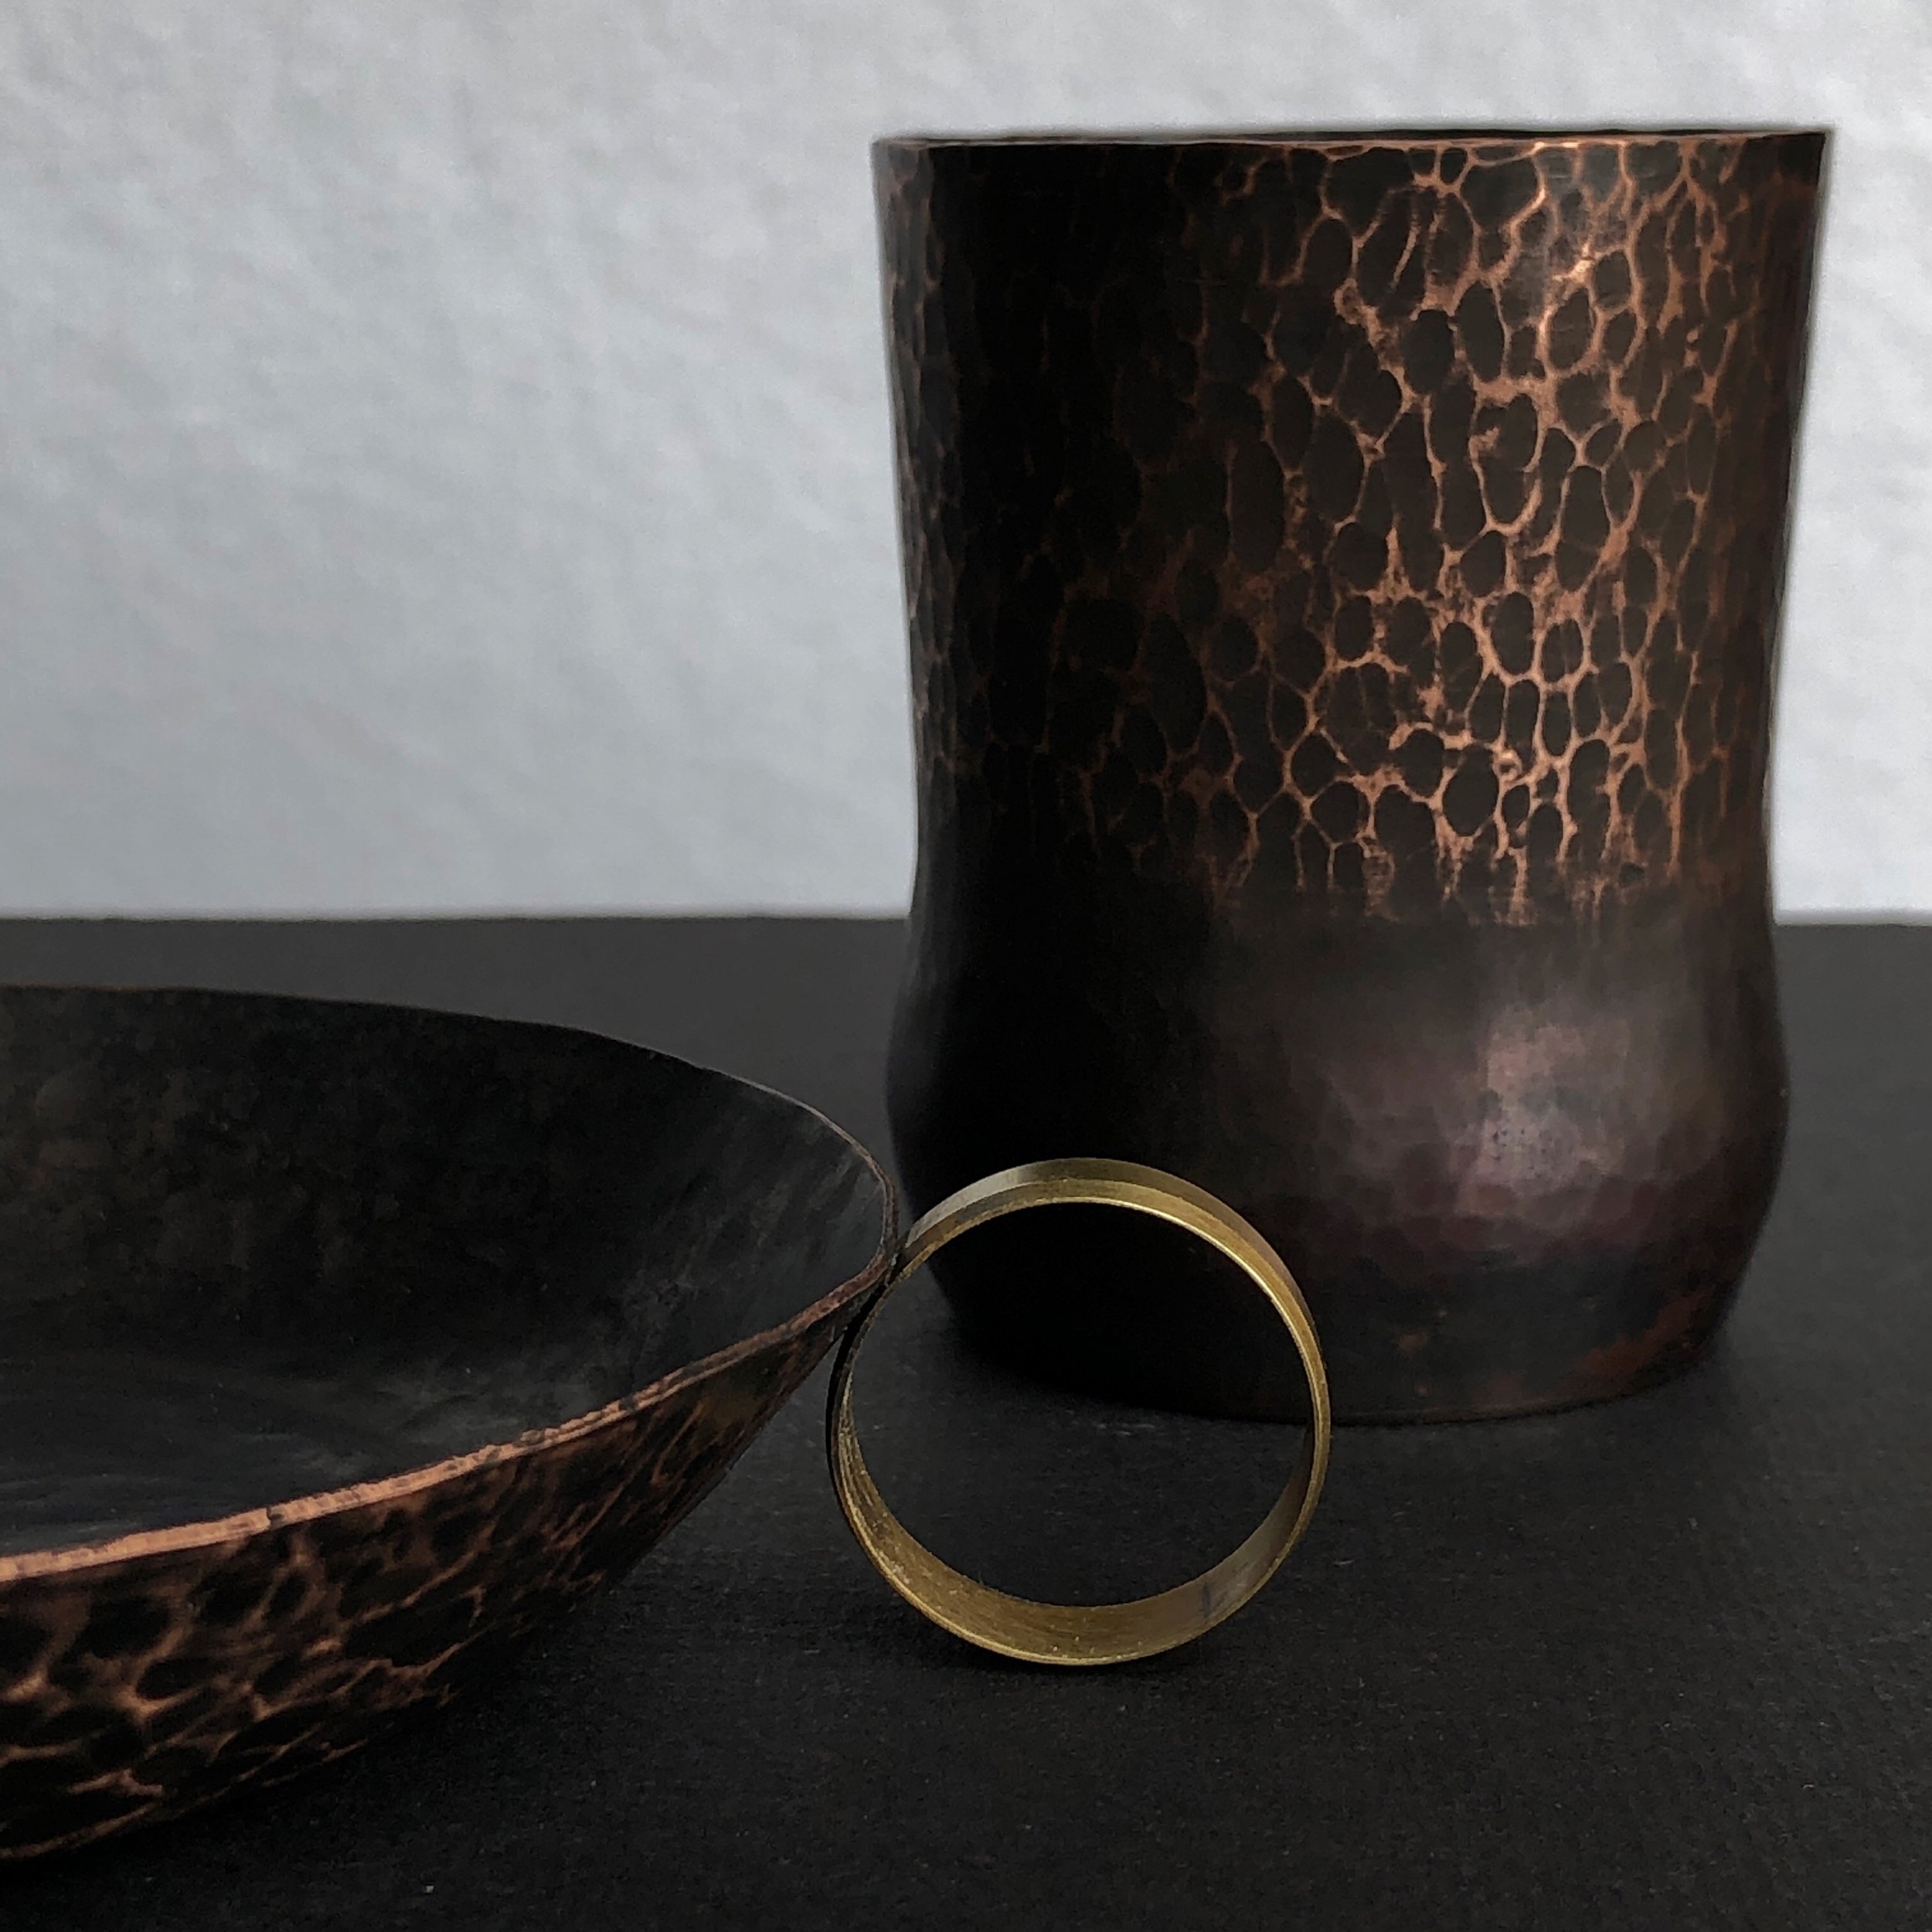
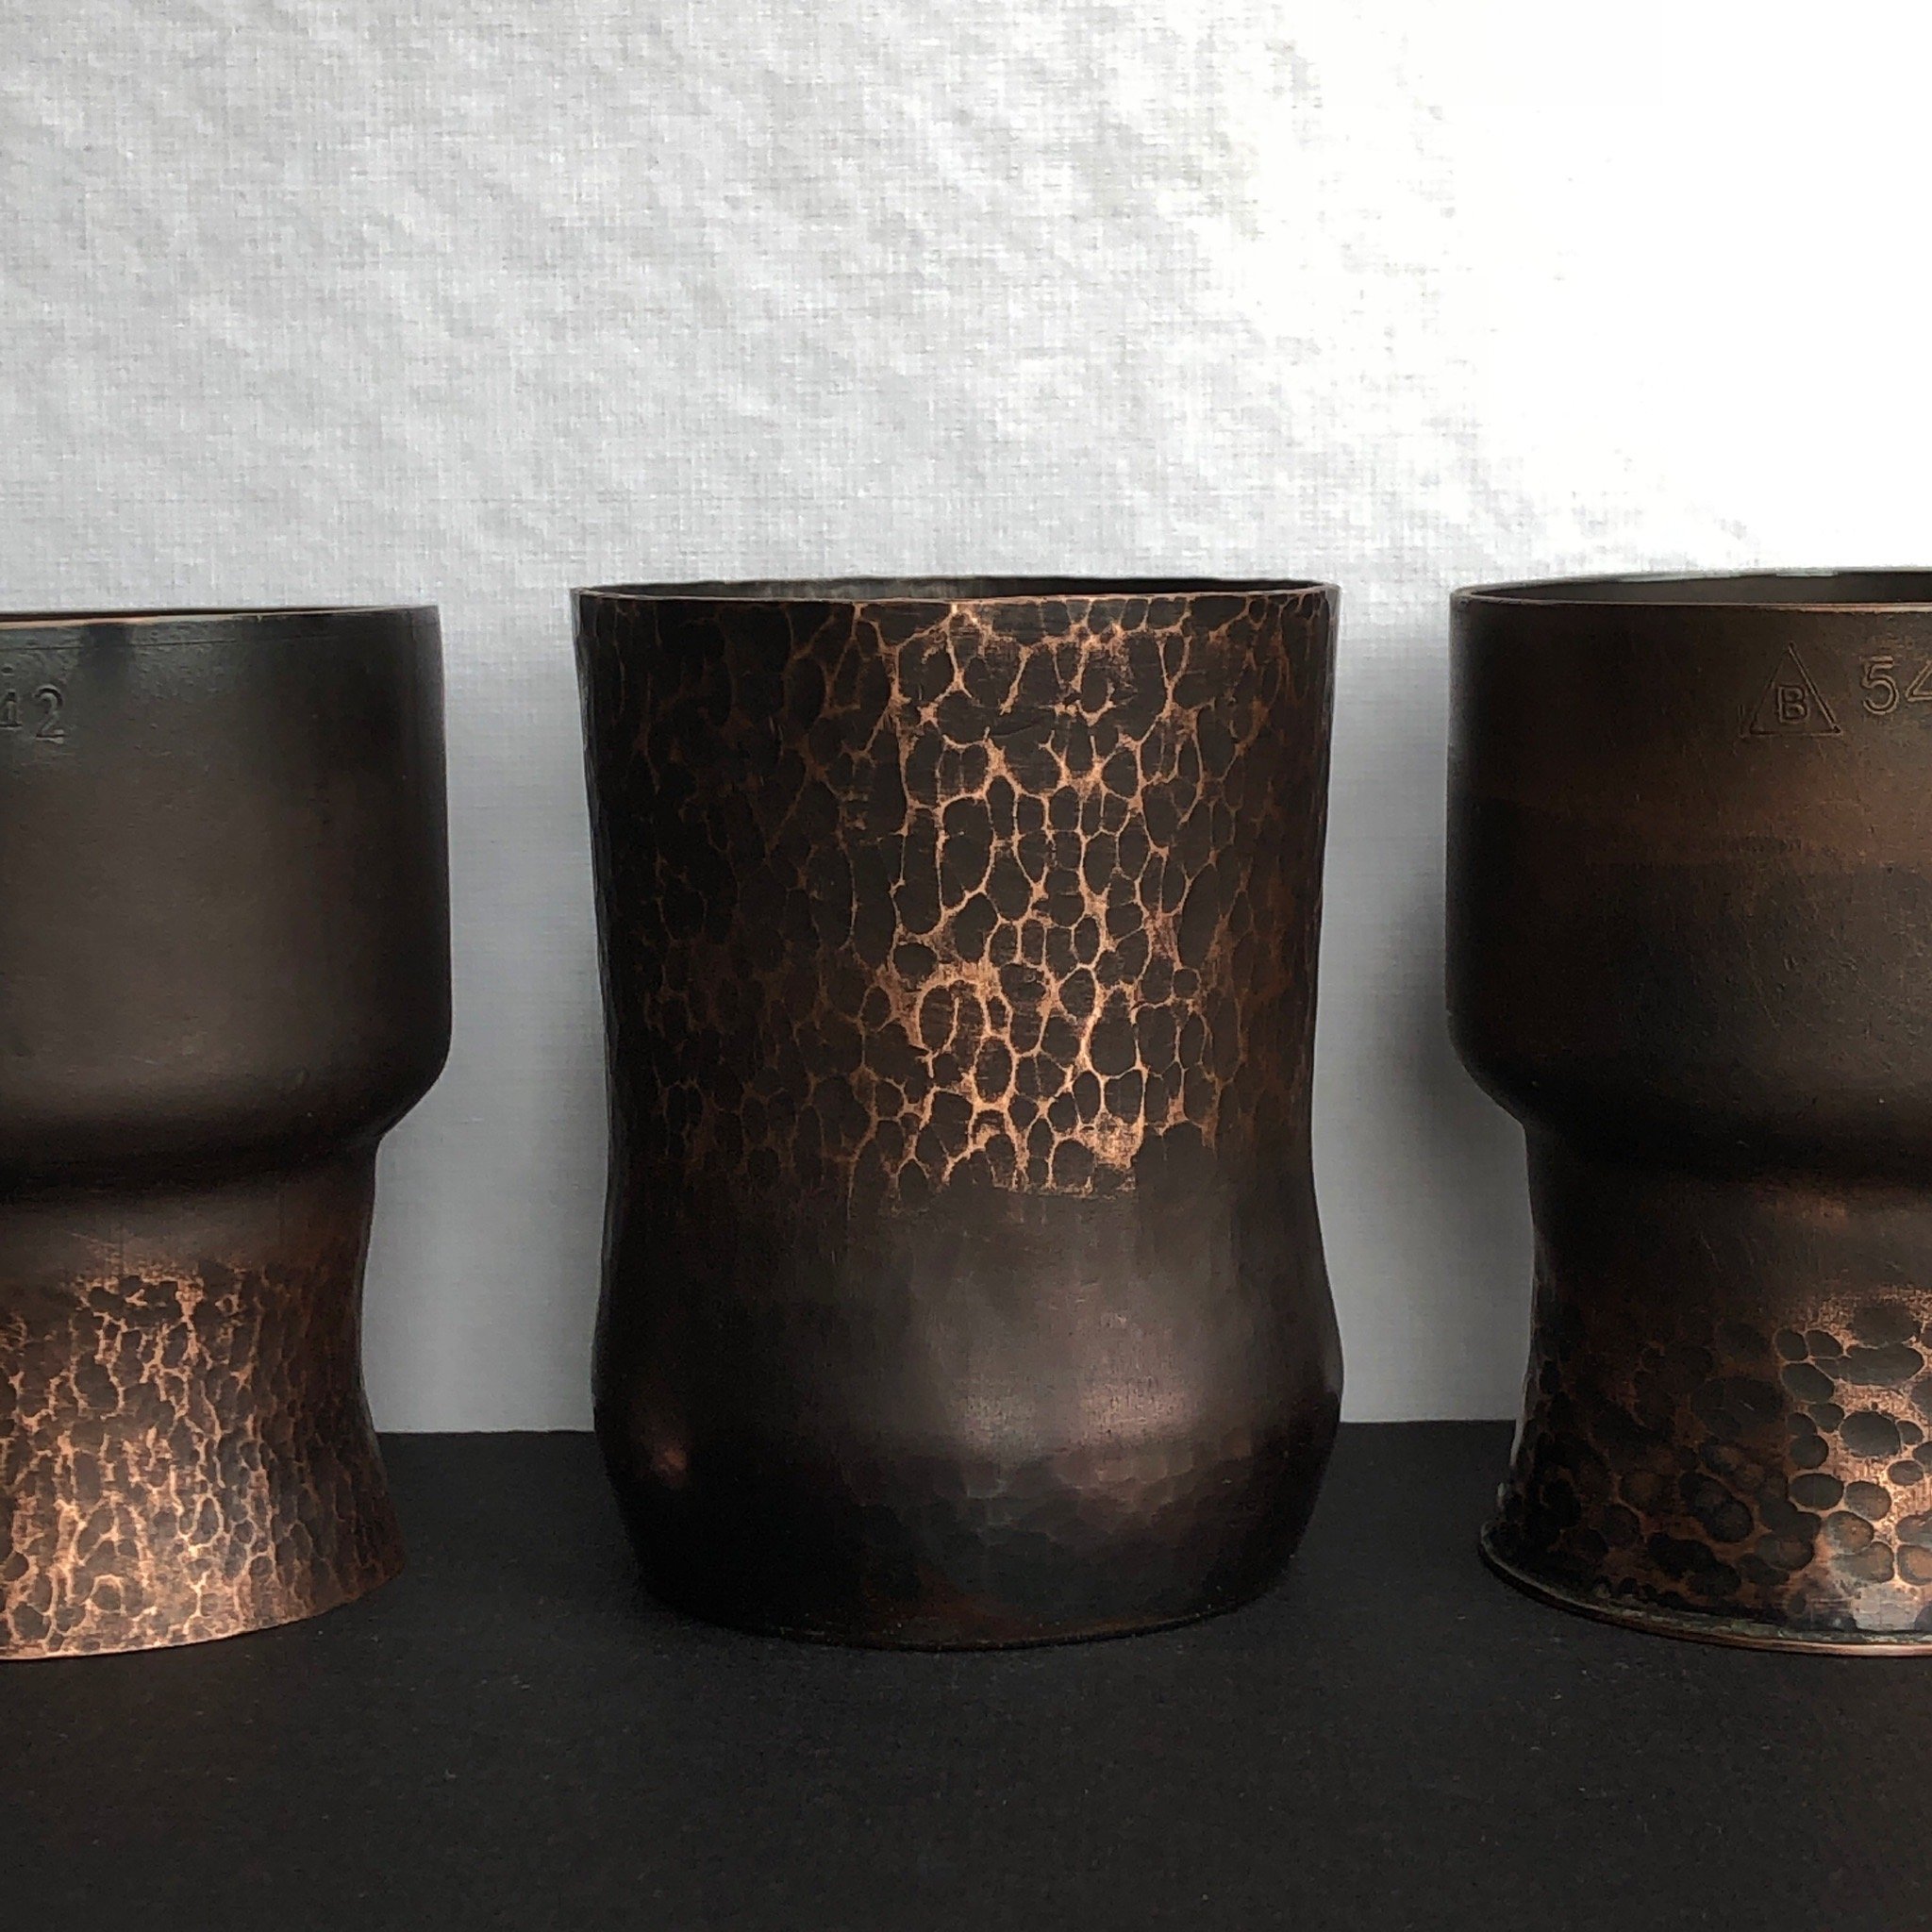
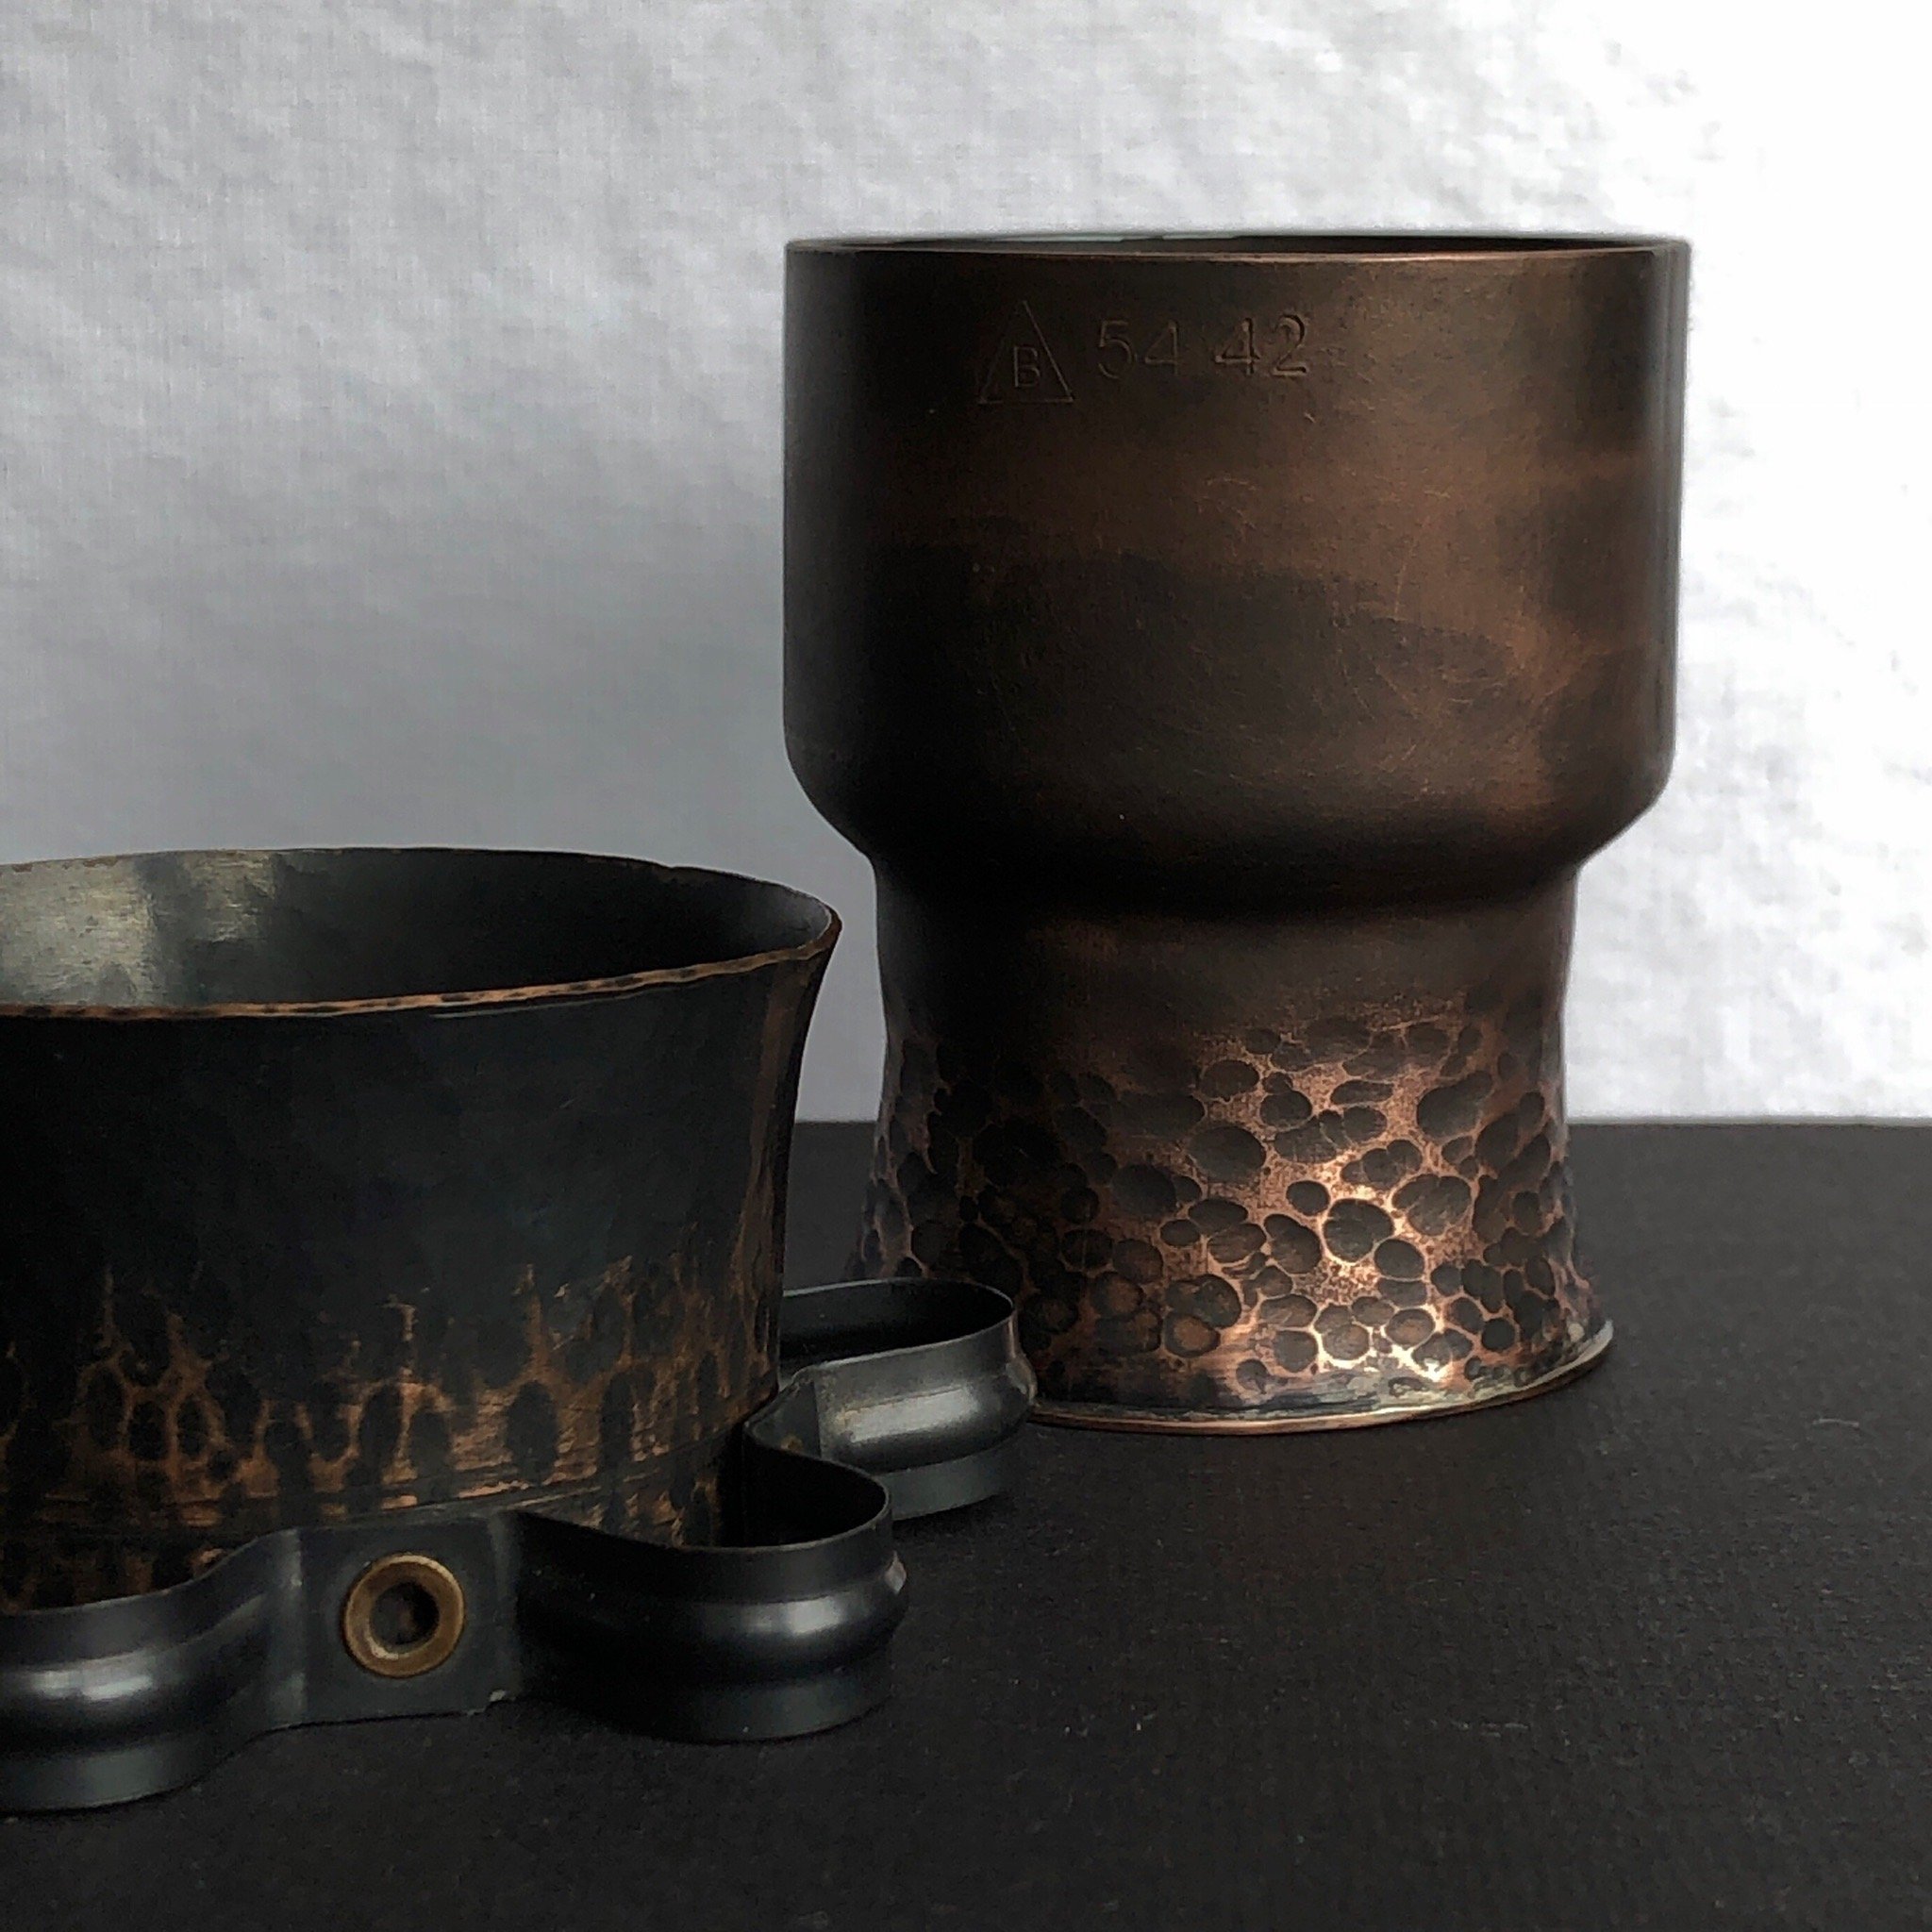
If you are familiar with my work you will know that I have regularly worked with hammered and chemically oxidised (blackened) surfaces. I have often felt limited by this due to feeling slightly uneasy experimenting with and using too many chemicals. I am now on the fascinating journey of finding safer and more sustainable ways of working to create the beautiful surfaces that I love.
Developing Your Creative Practice - patination.
The first element of my ACE funded project is researching non-toxic patination techniques followed by a series of my own experiments. I am so delighted to have dedicated time and space to experiment and develop my own series of samples that will lead to a new and exciting body of work.
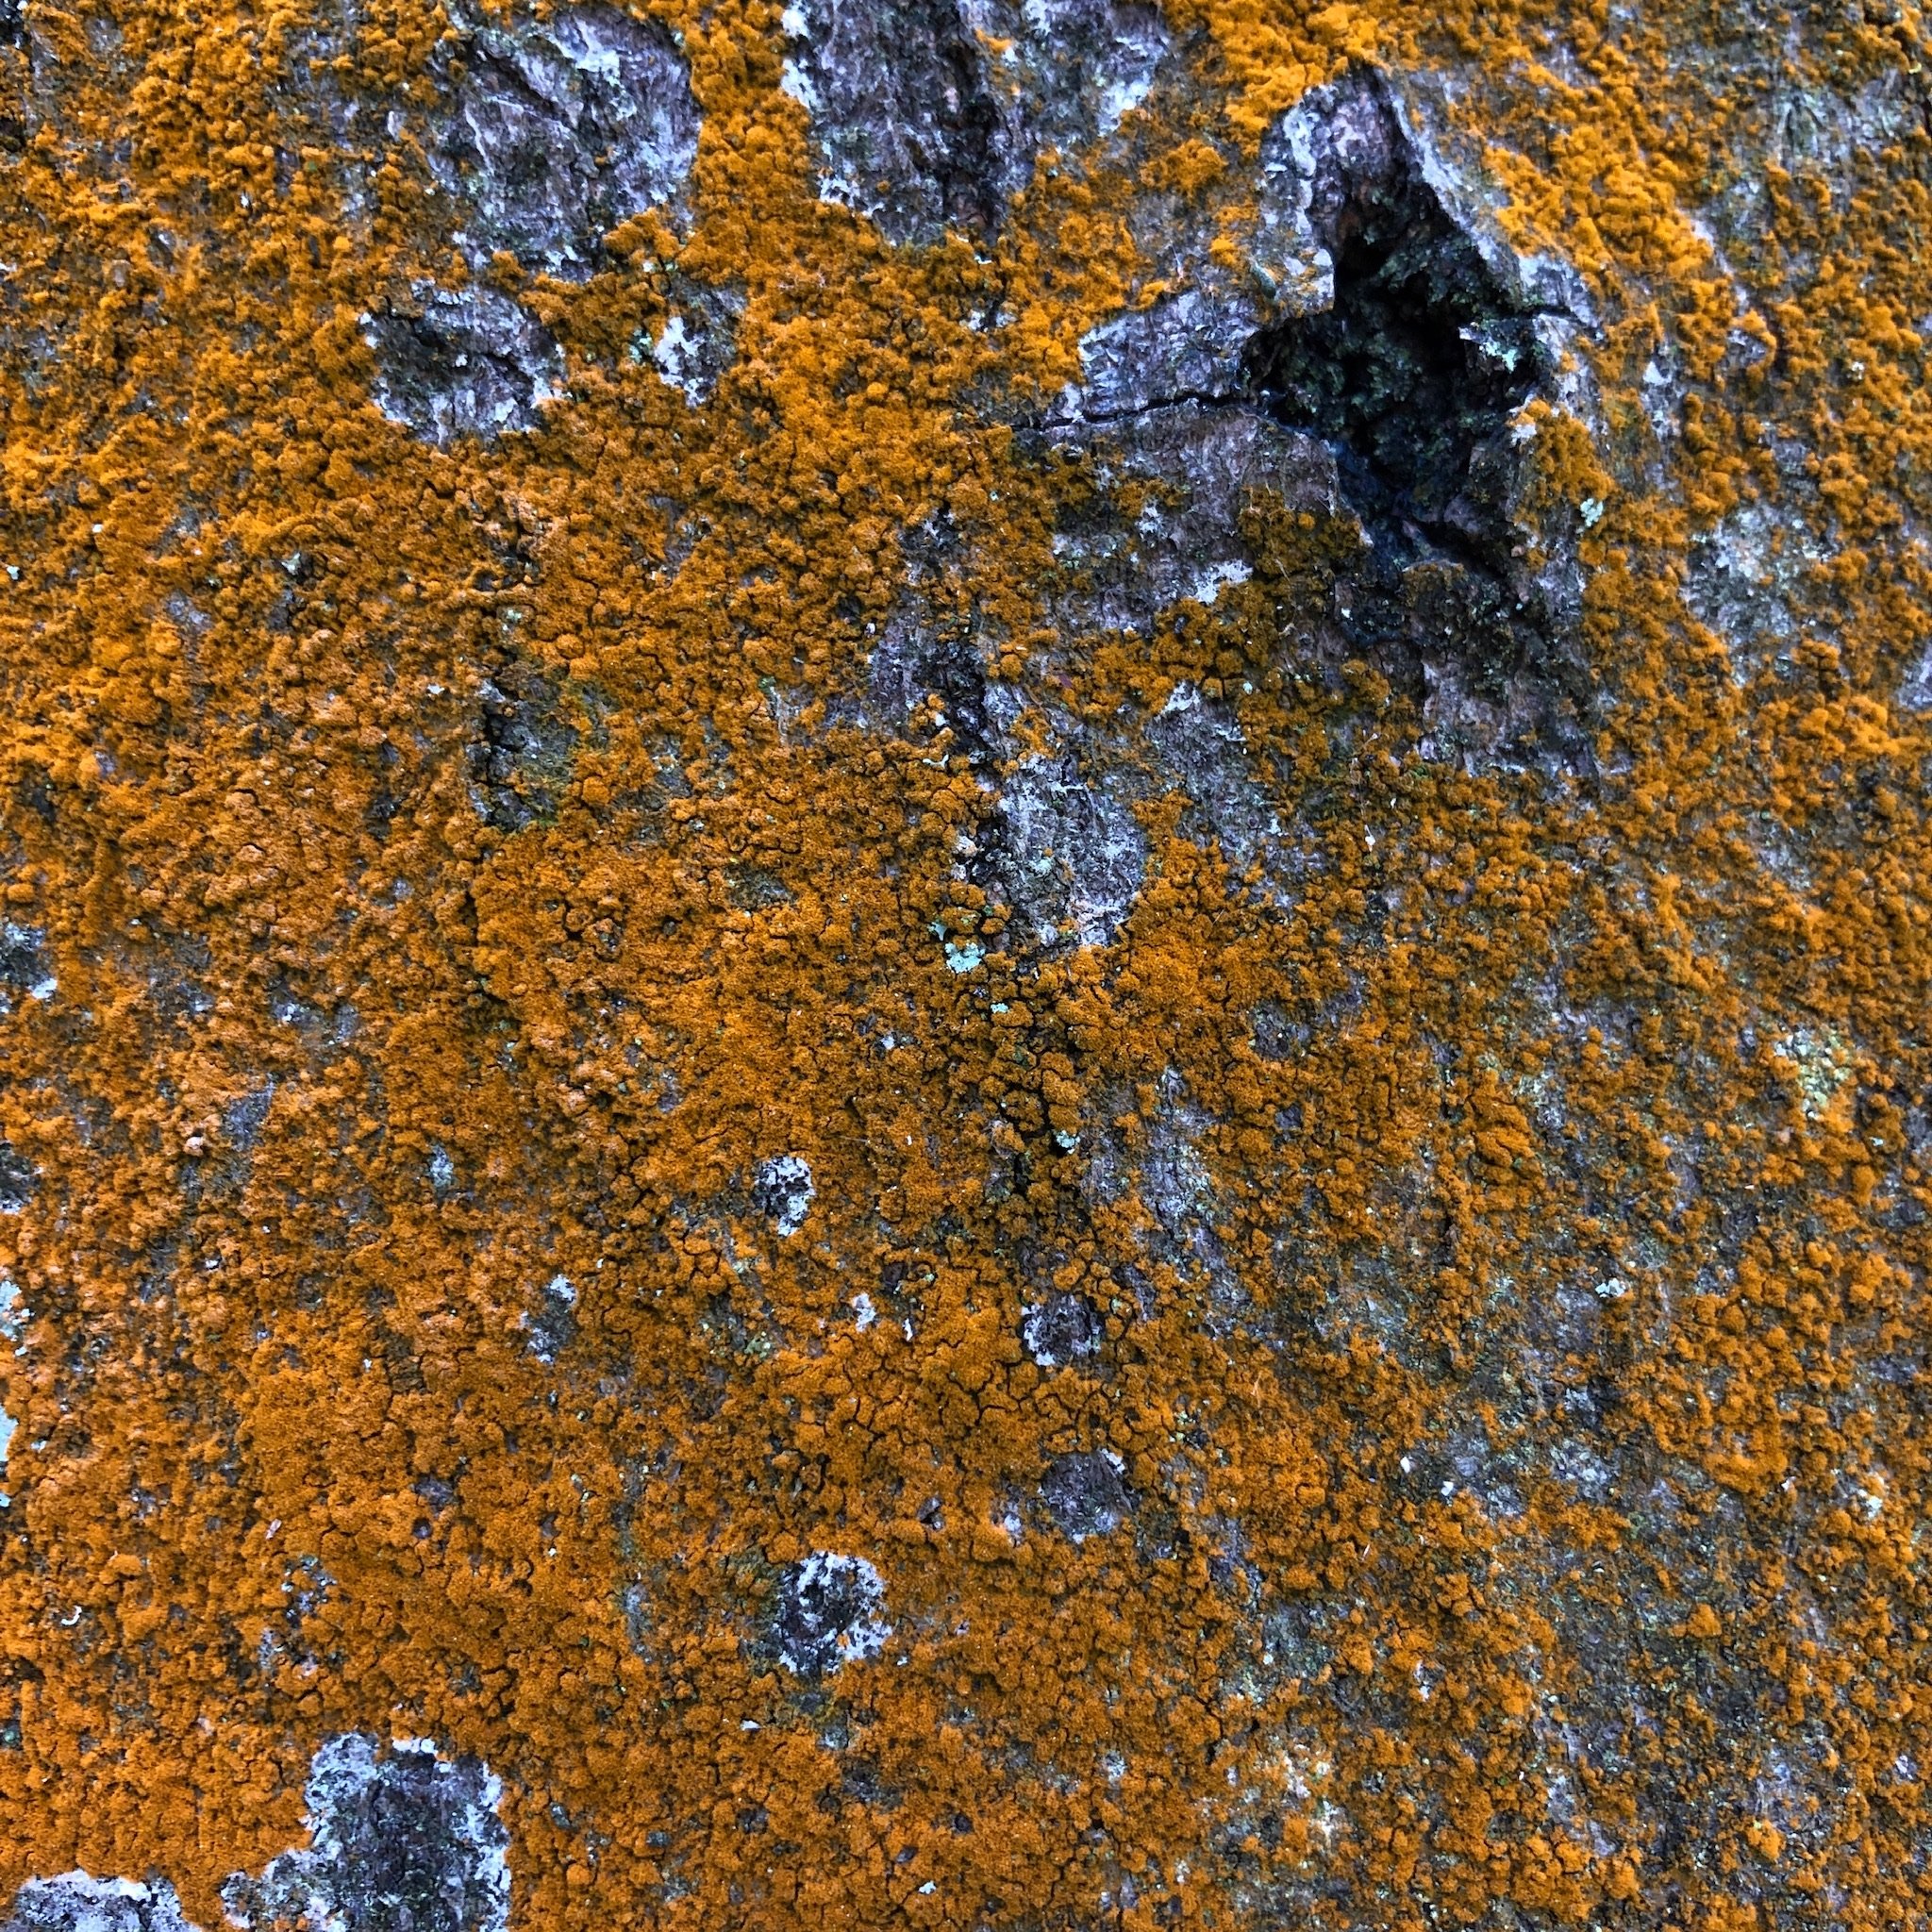
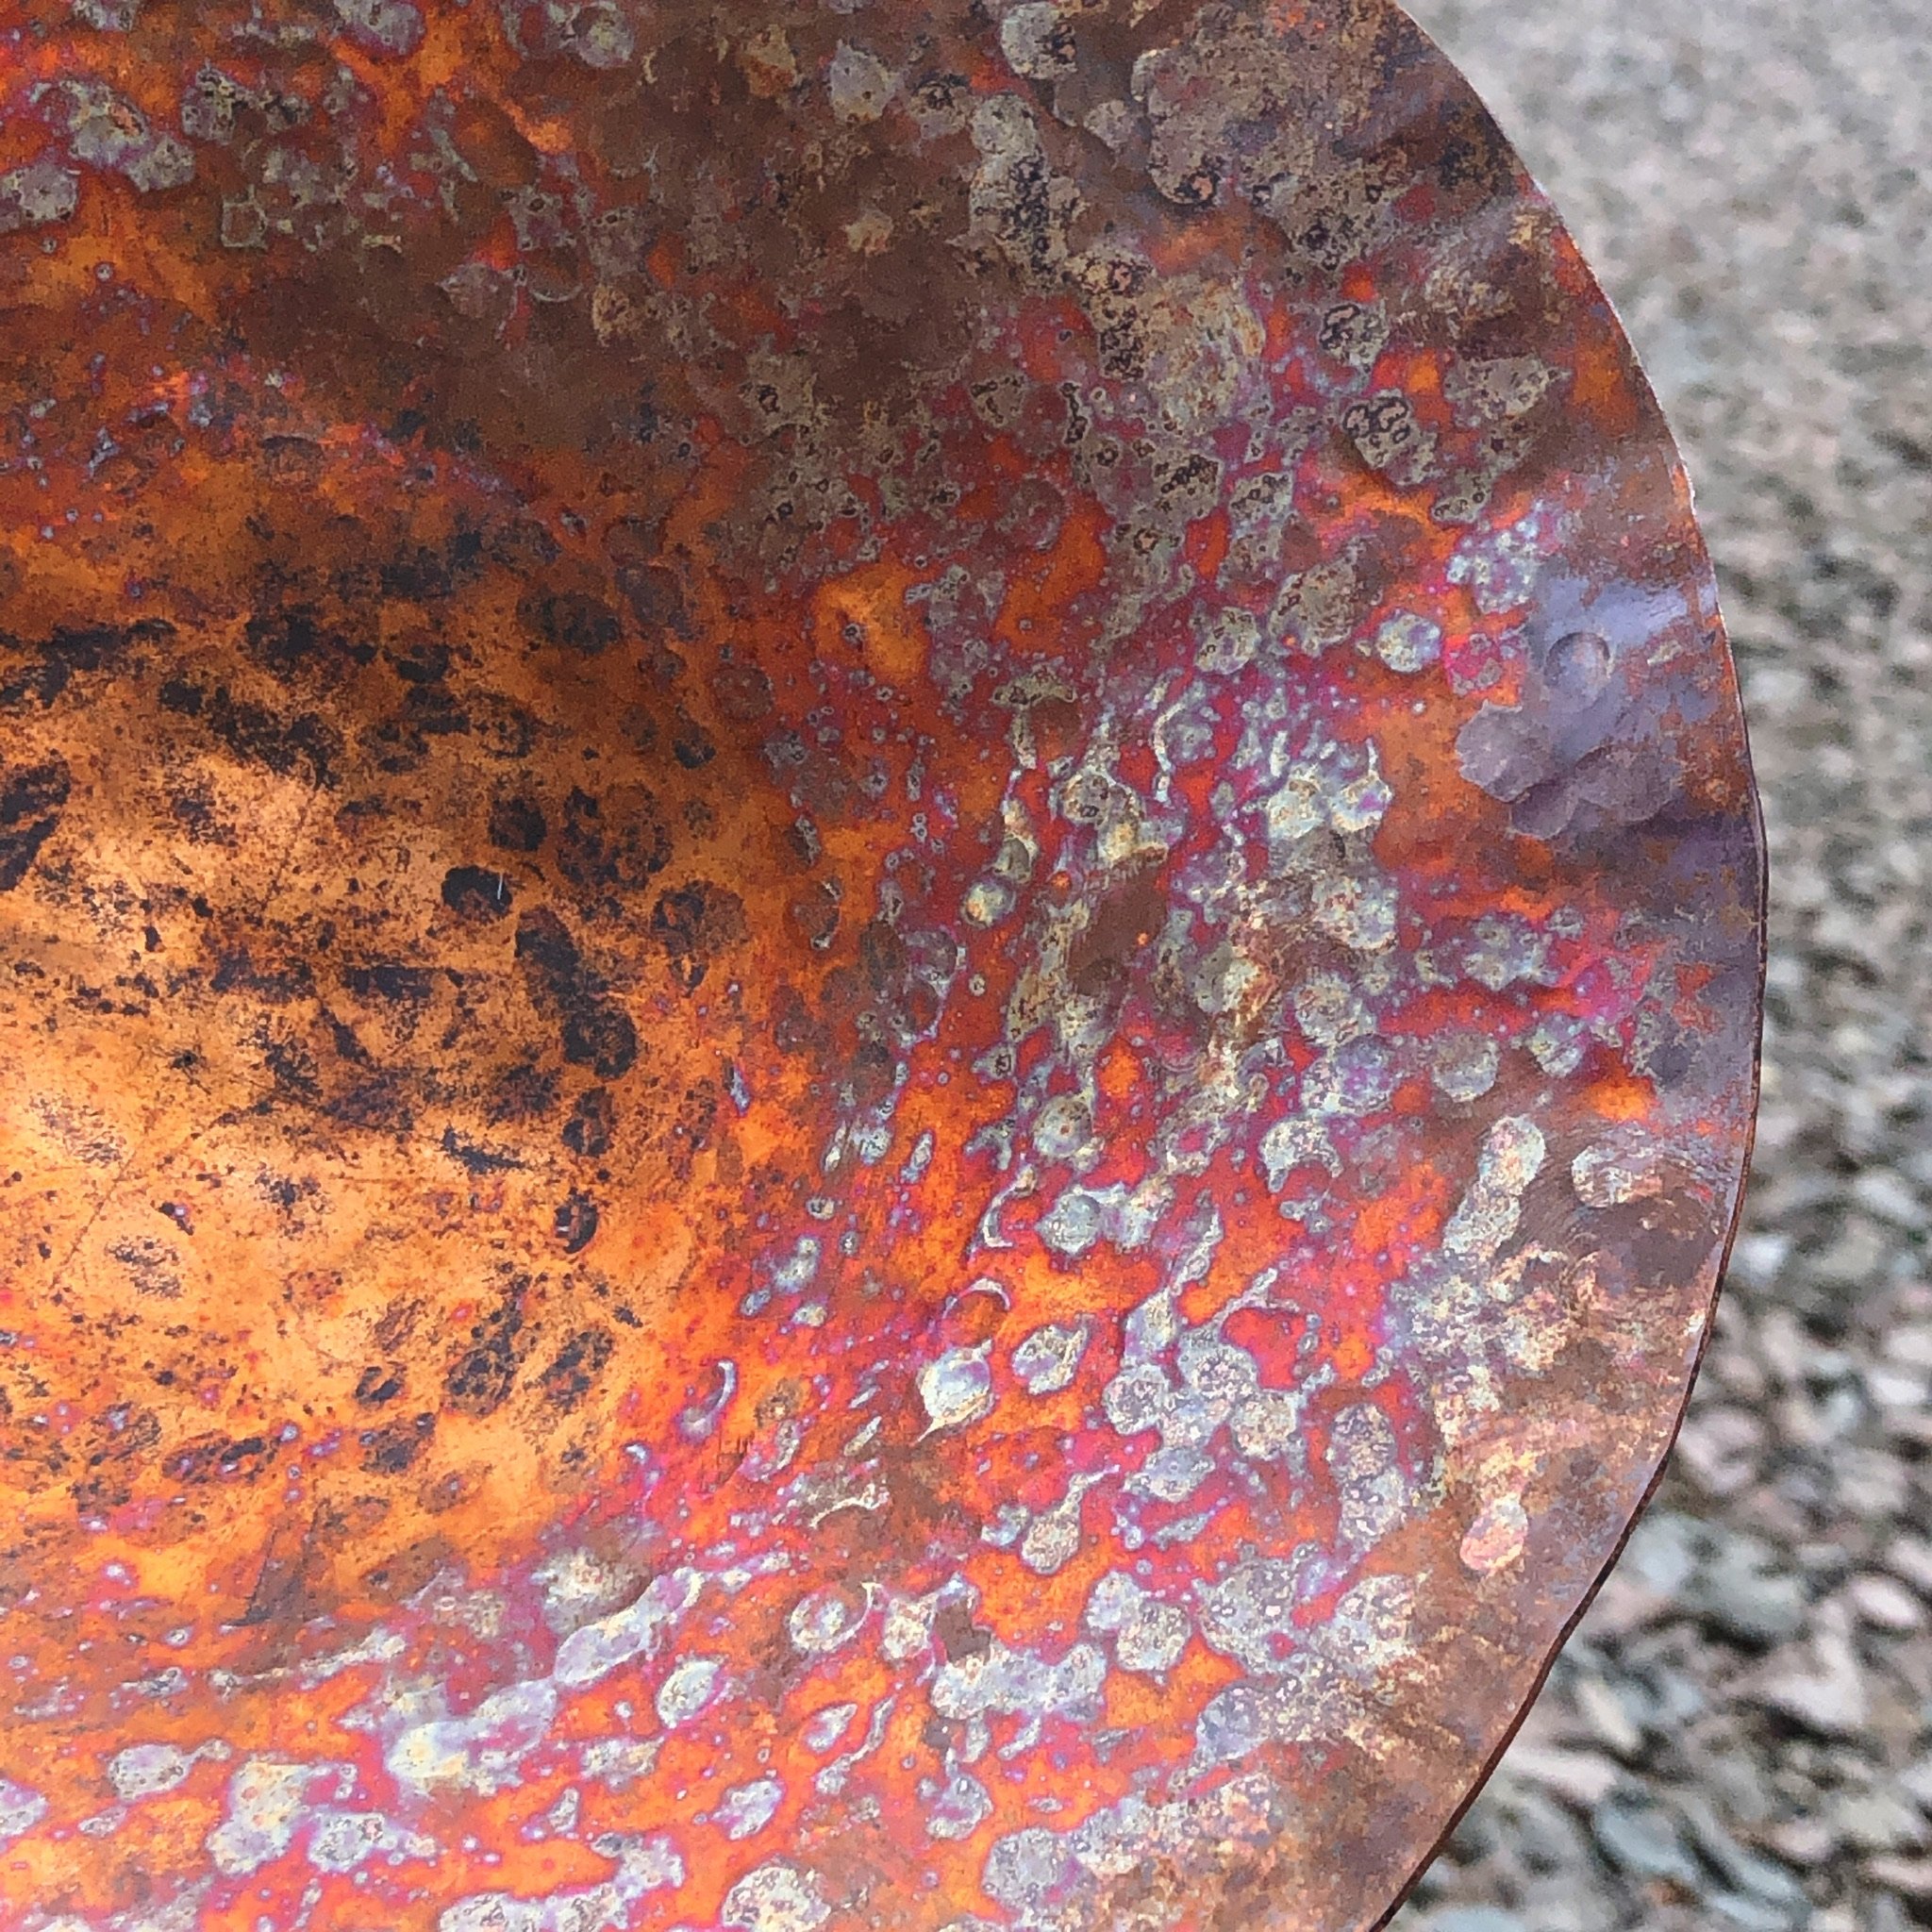
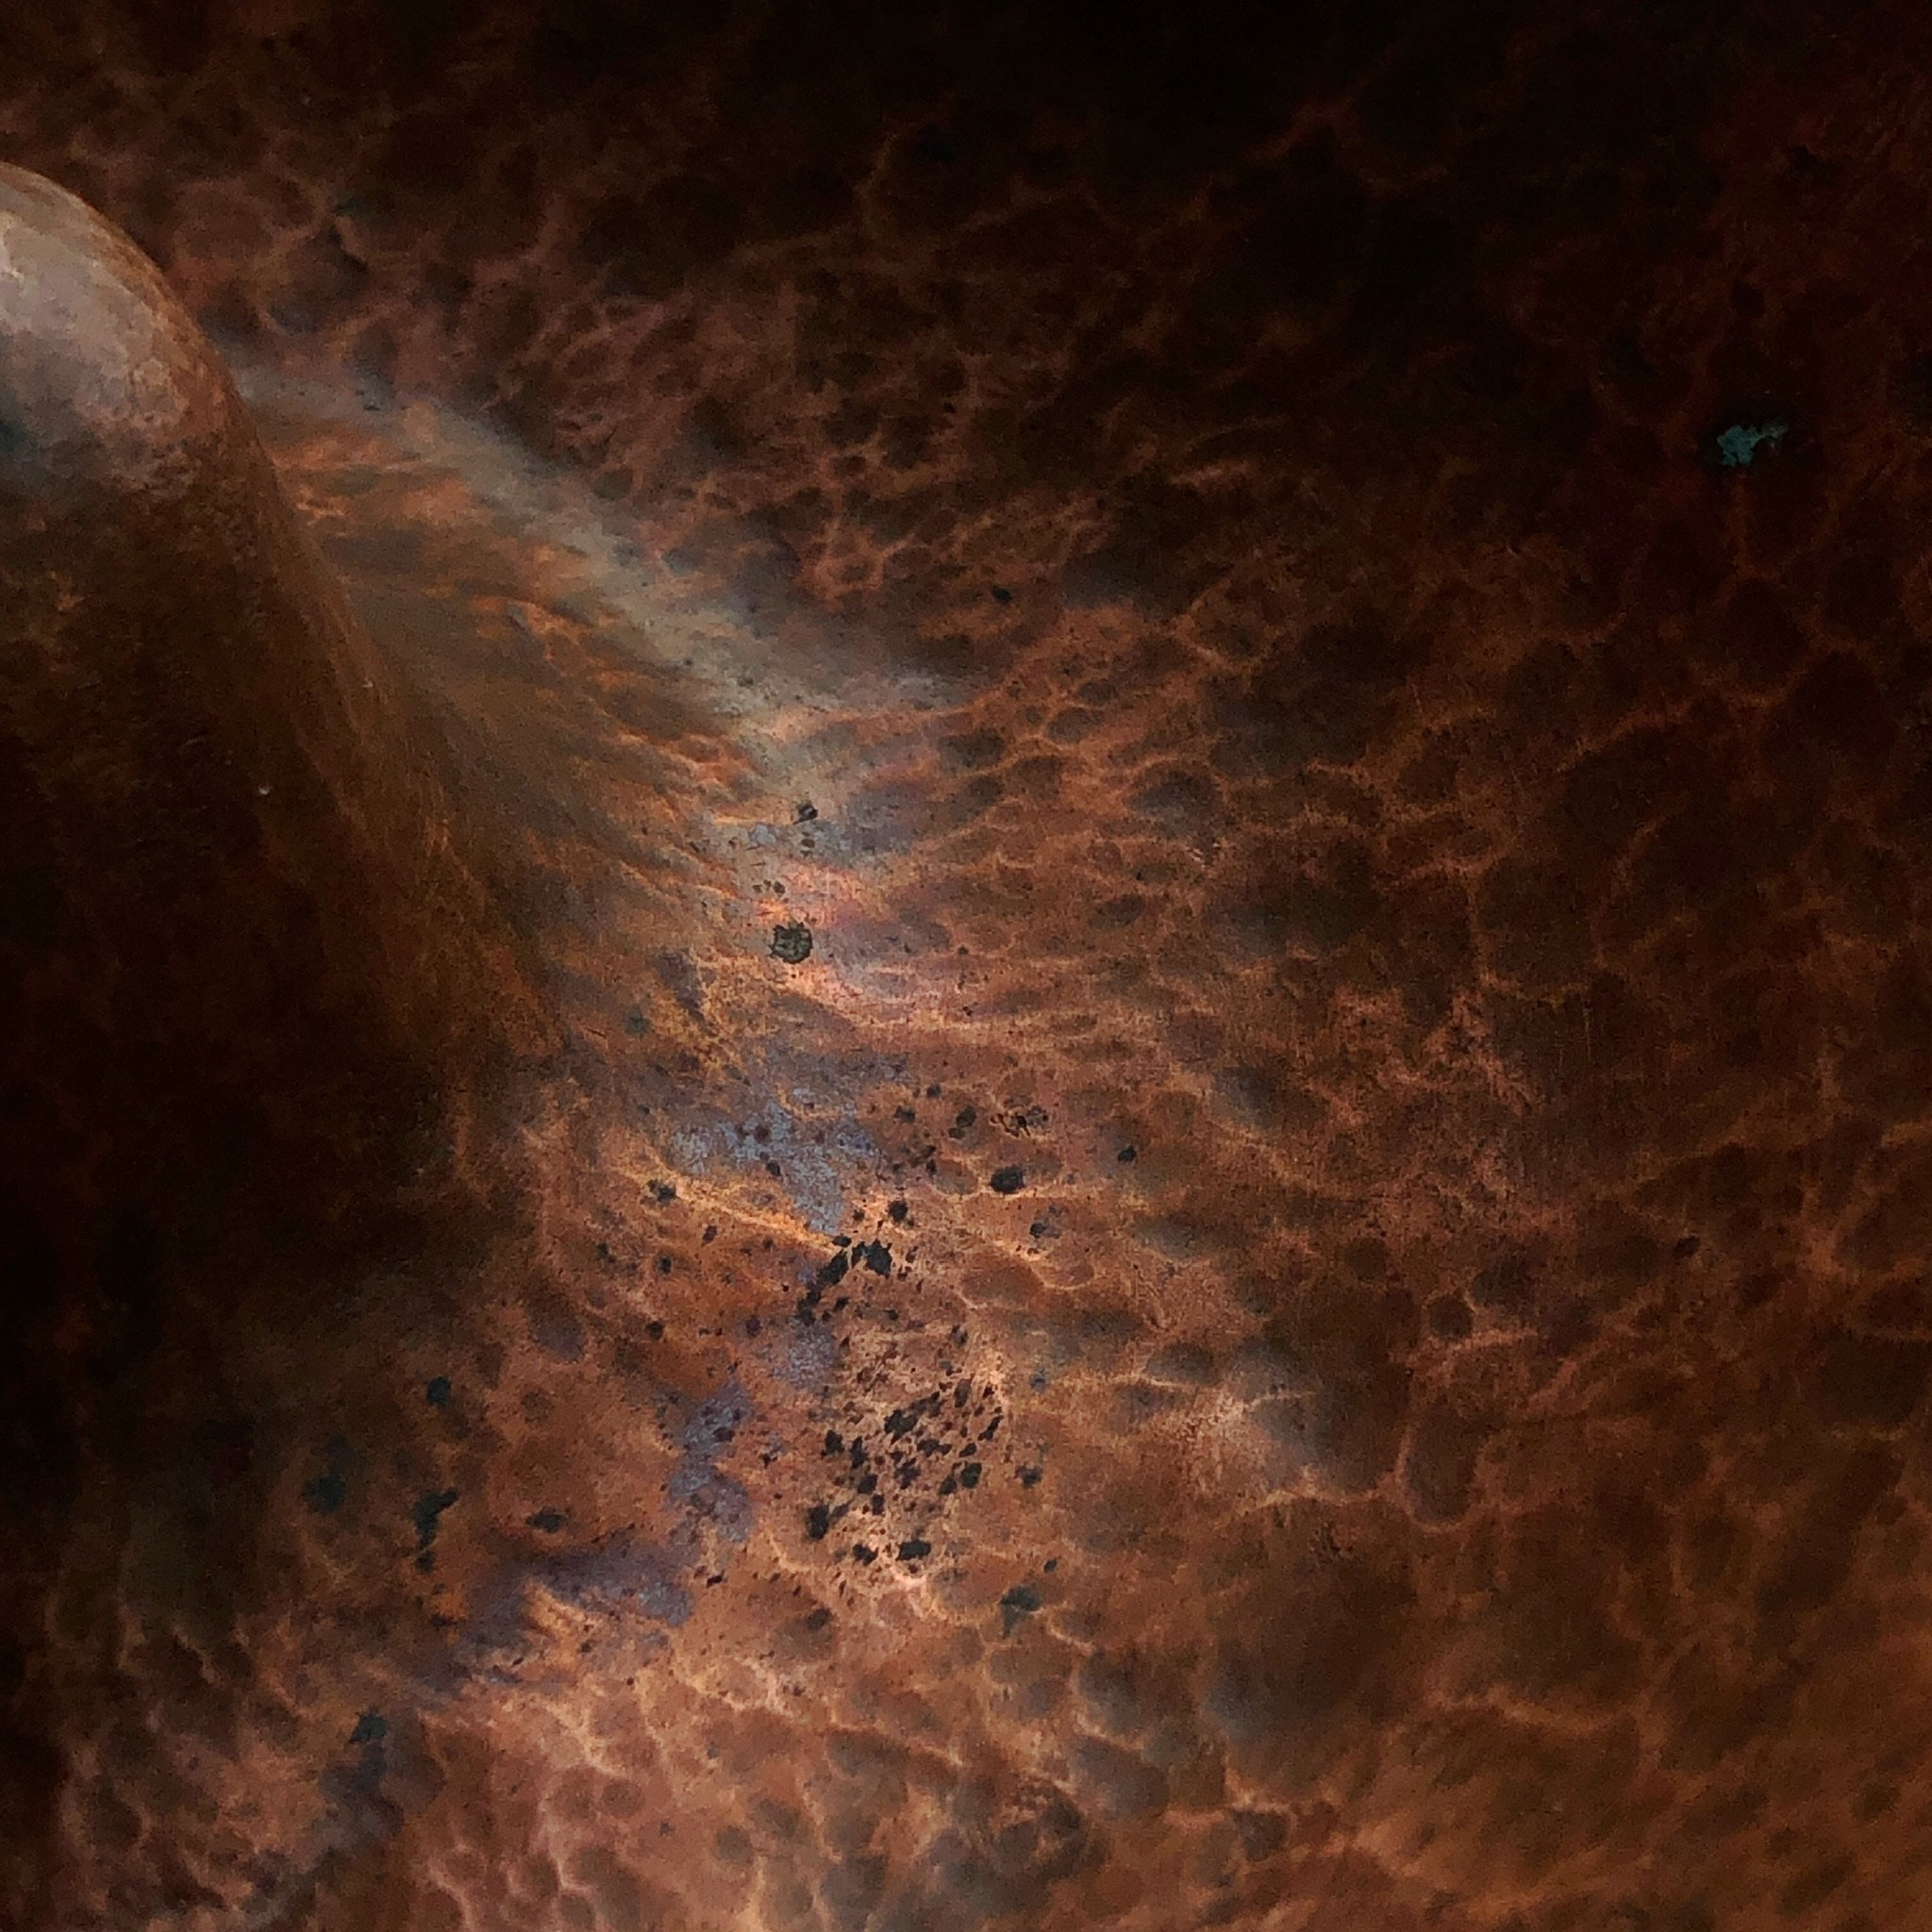
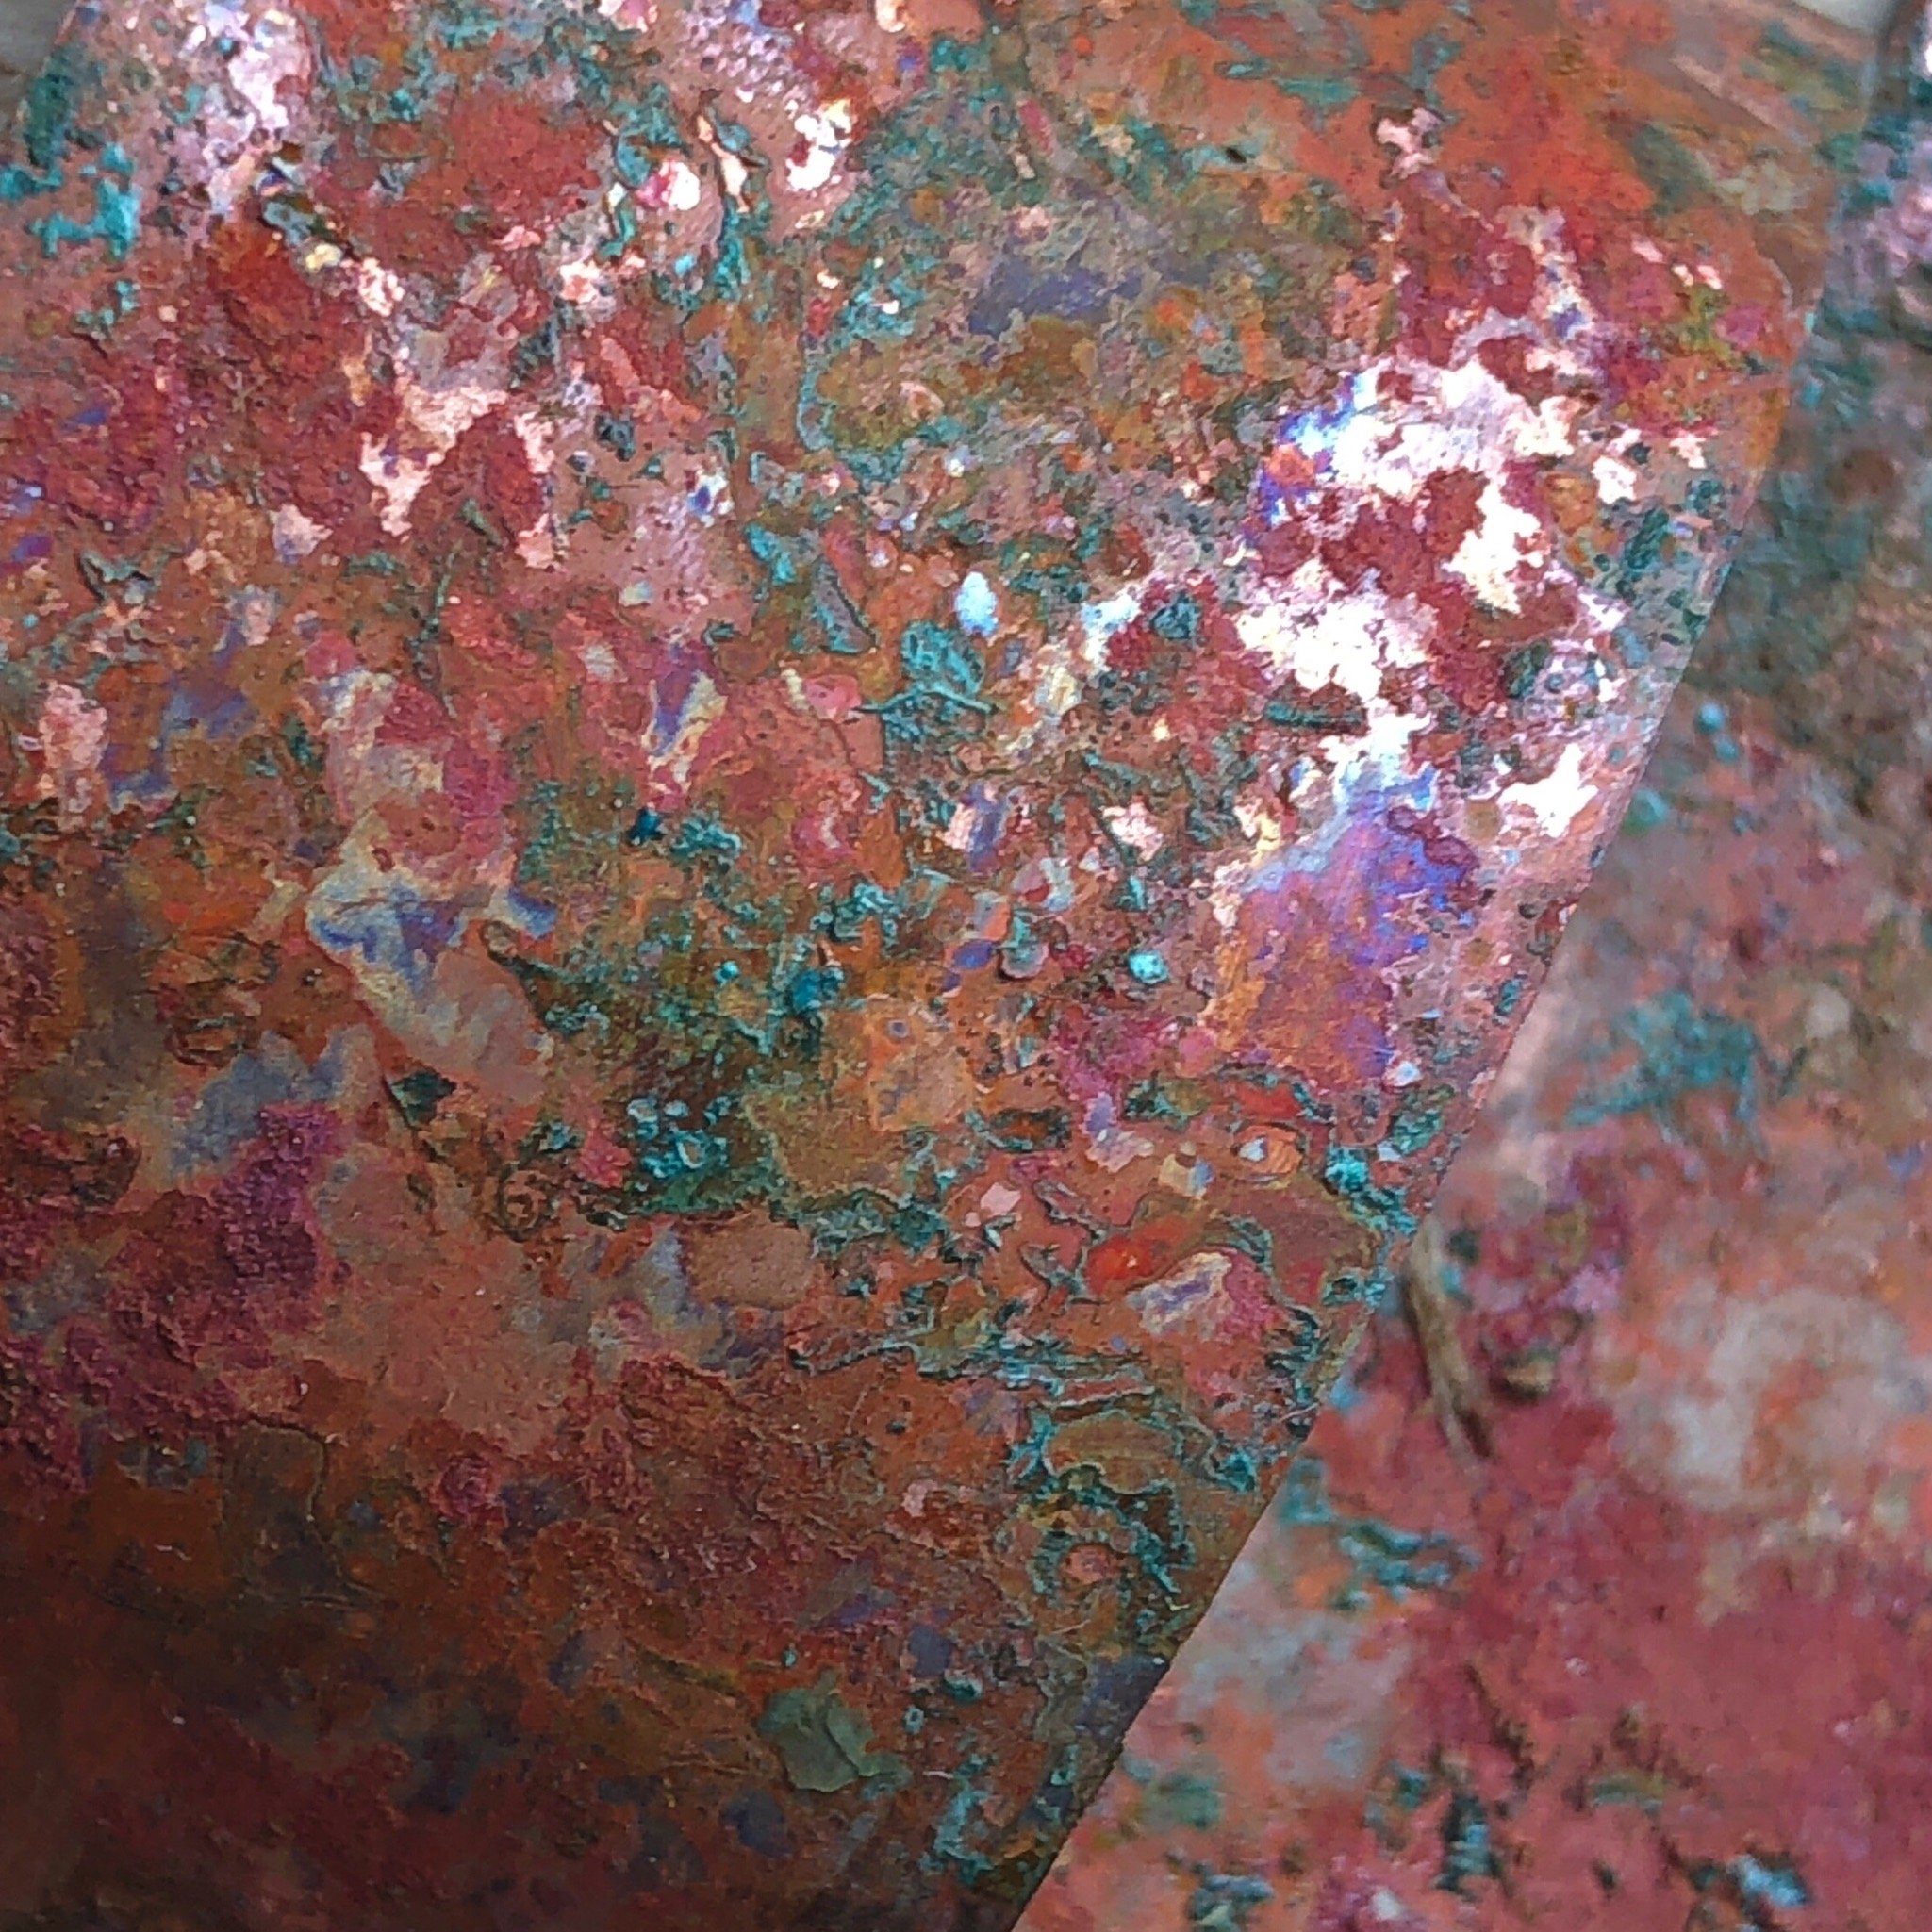
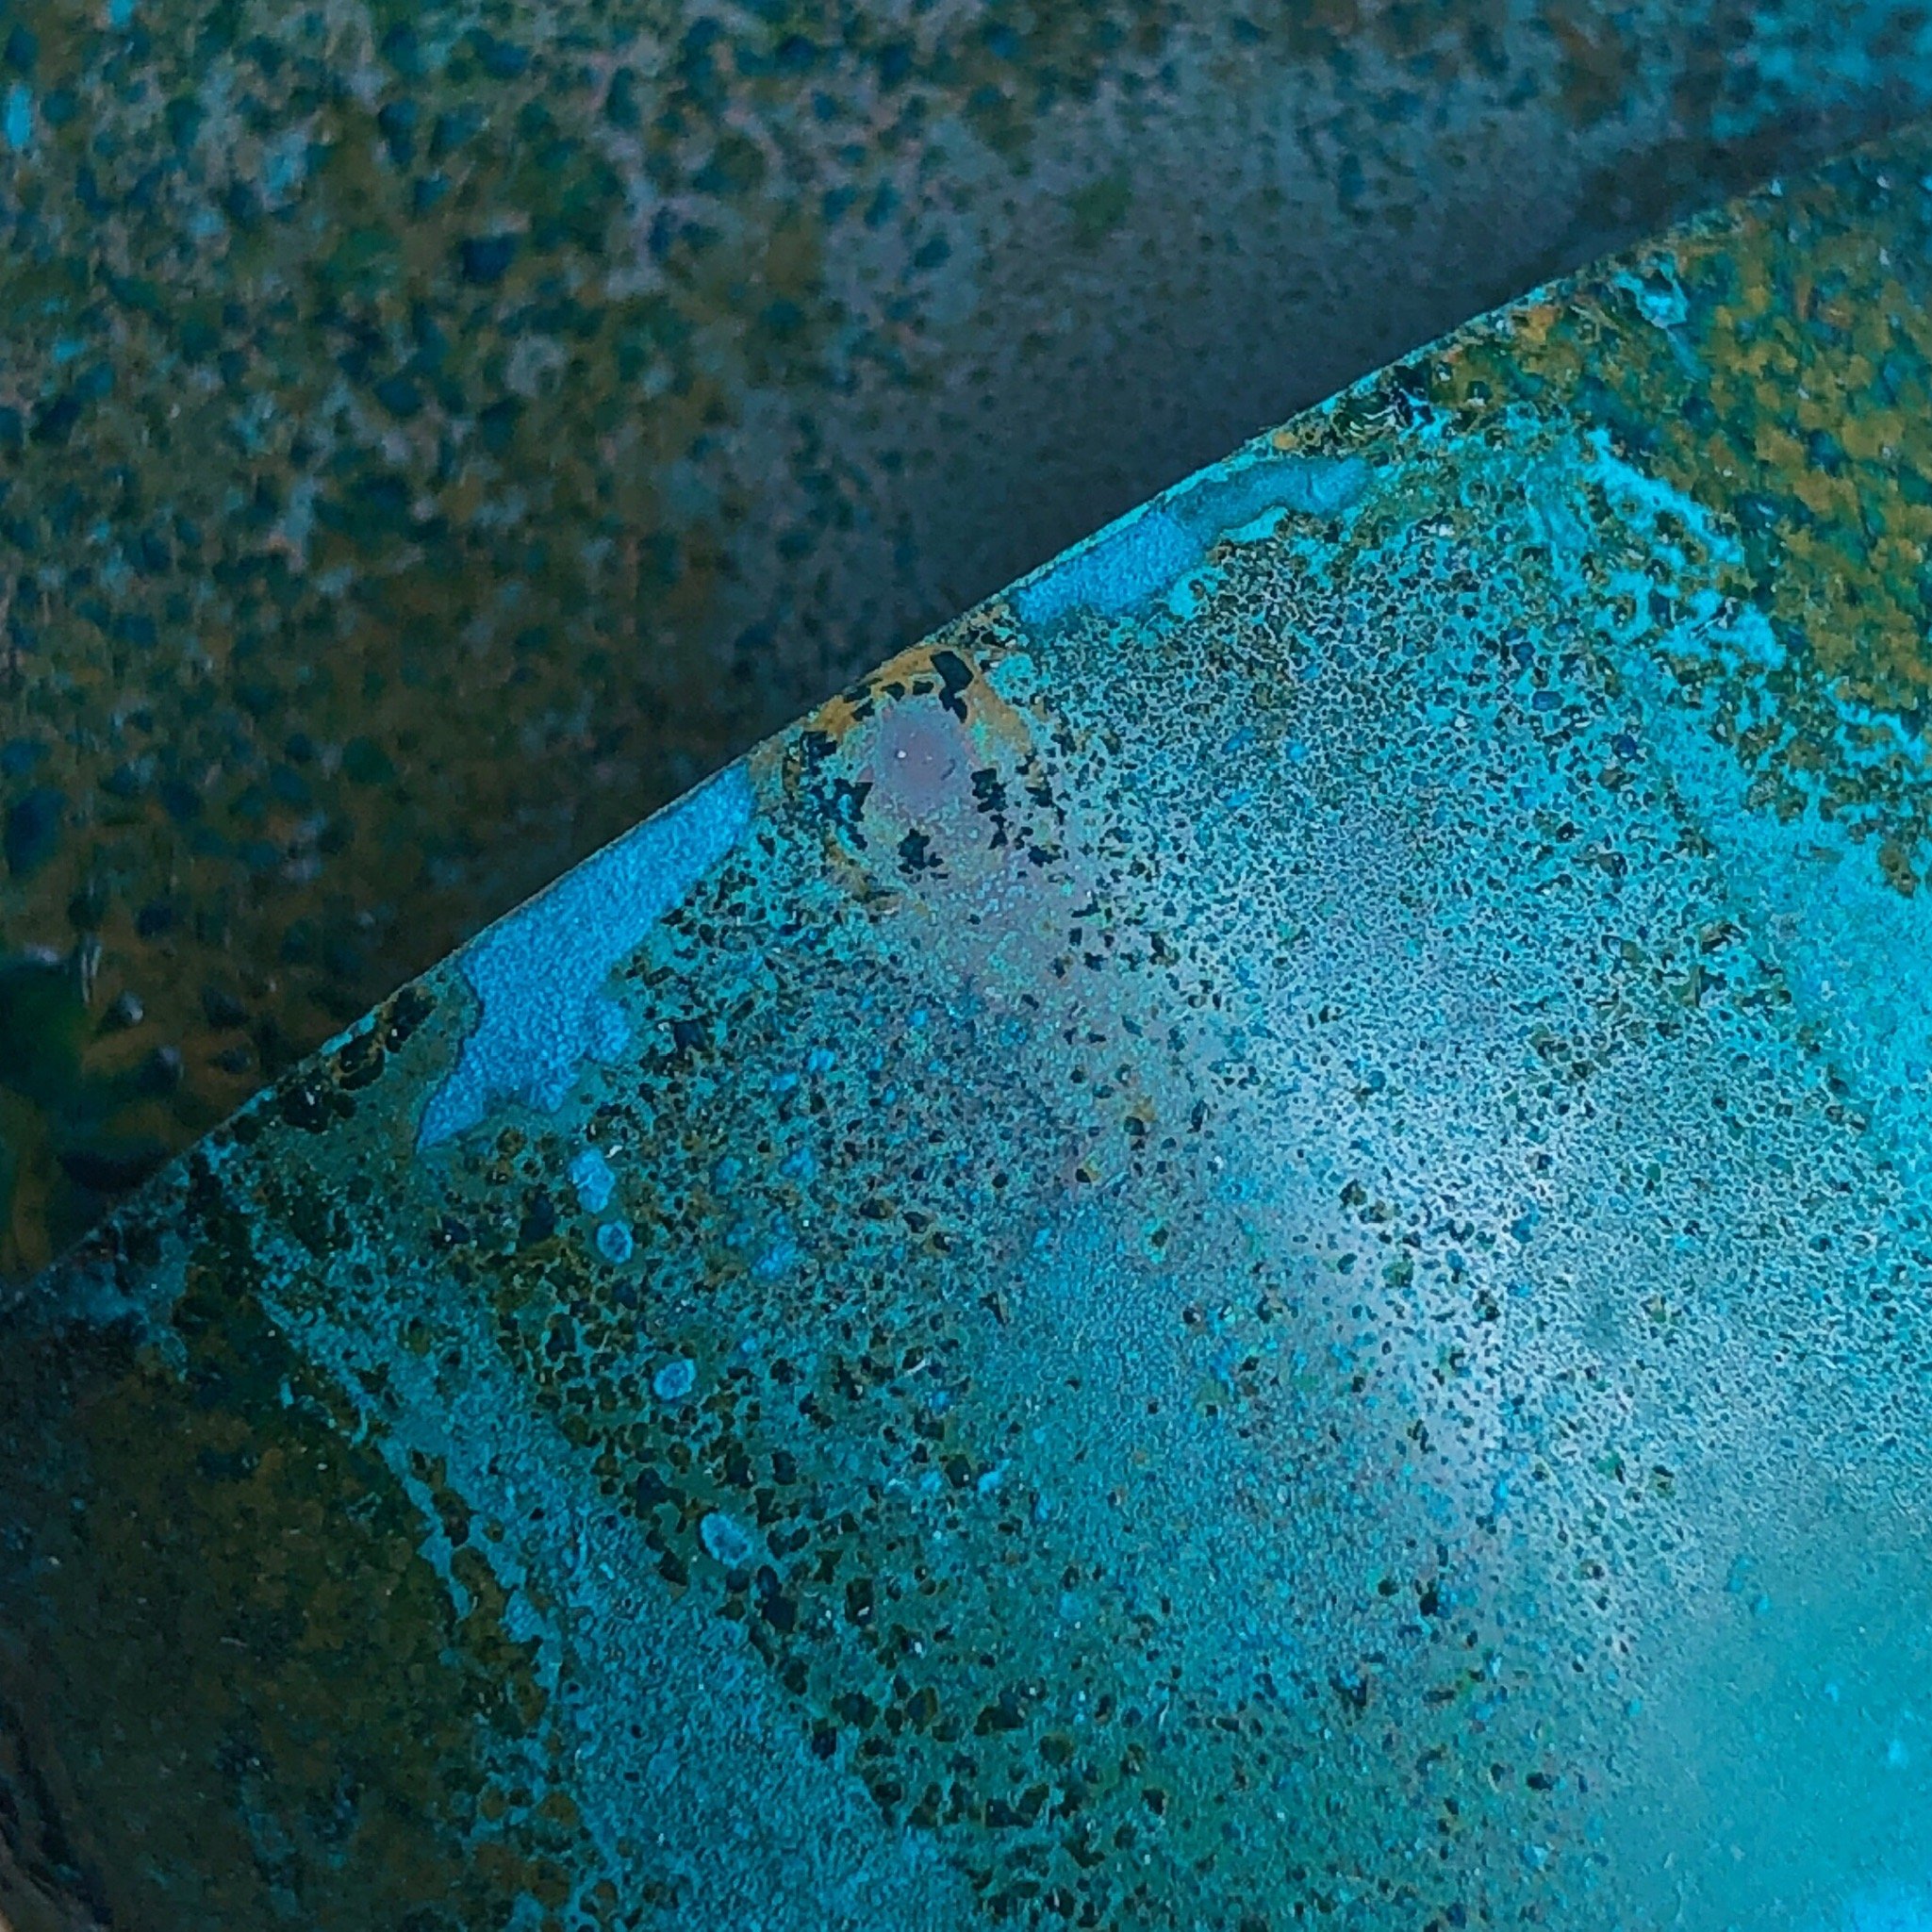
For full transparency I am sharing some very early experiments and some of the things that have gone wrong along the way. I have been collecting images of inspiring textures and colours for quite some time so have included some of them below for context.


Time to experiment!
My initial experiments have come from recipes in a research paper written by Julie Jerman-Melka in 1996 and other recipes that are readily available online. These are not new ideas or even new to me but I have never been afforded the time to do my own experiments and that is the key thing here.
One of the good things about following a recipe is that you can aim to achieve a specific outcome, however going off piste also occasionally pays off, you just have to remember what you have done! This is why am documenting all of the experiments I do and creating a mini library of samples to utilise in future work.
What is in the recipe?
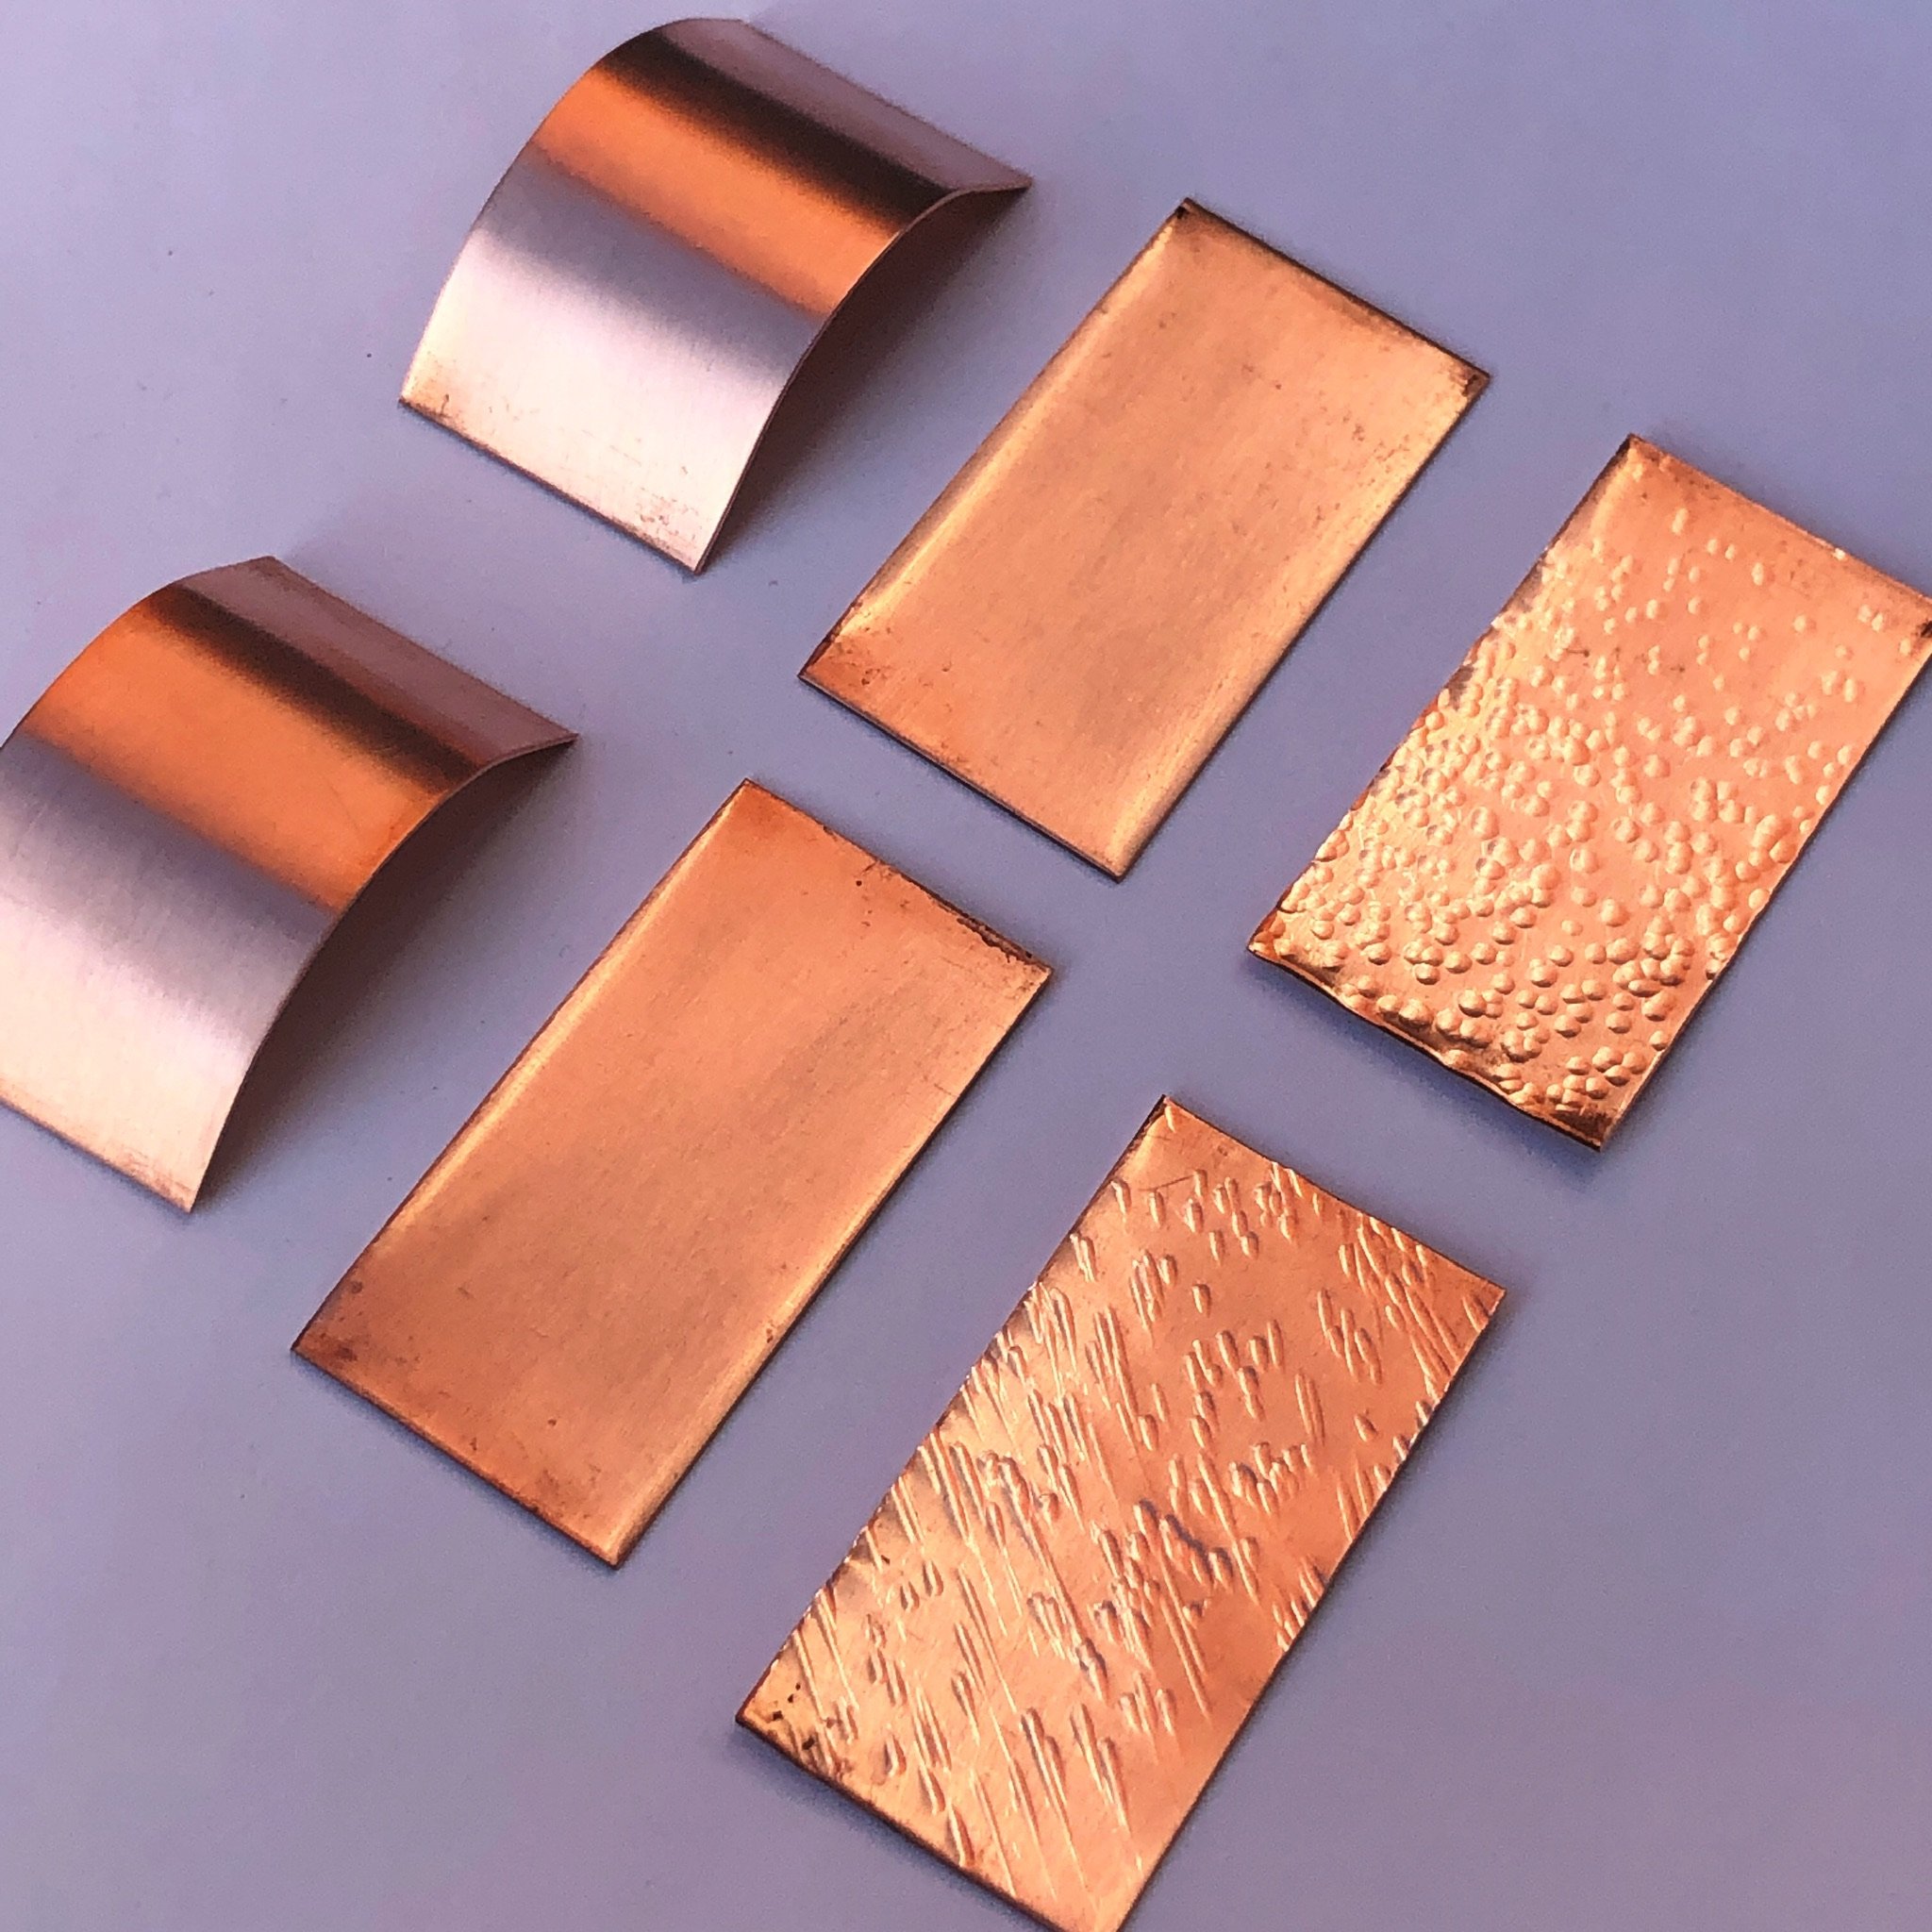
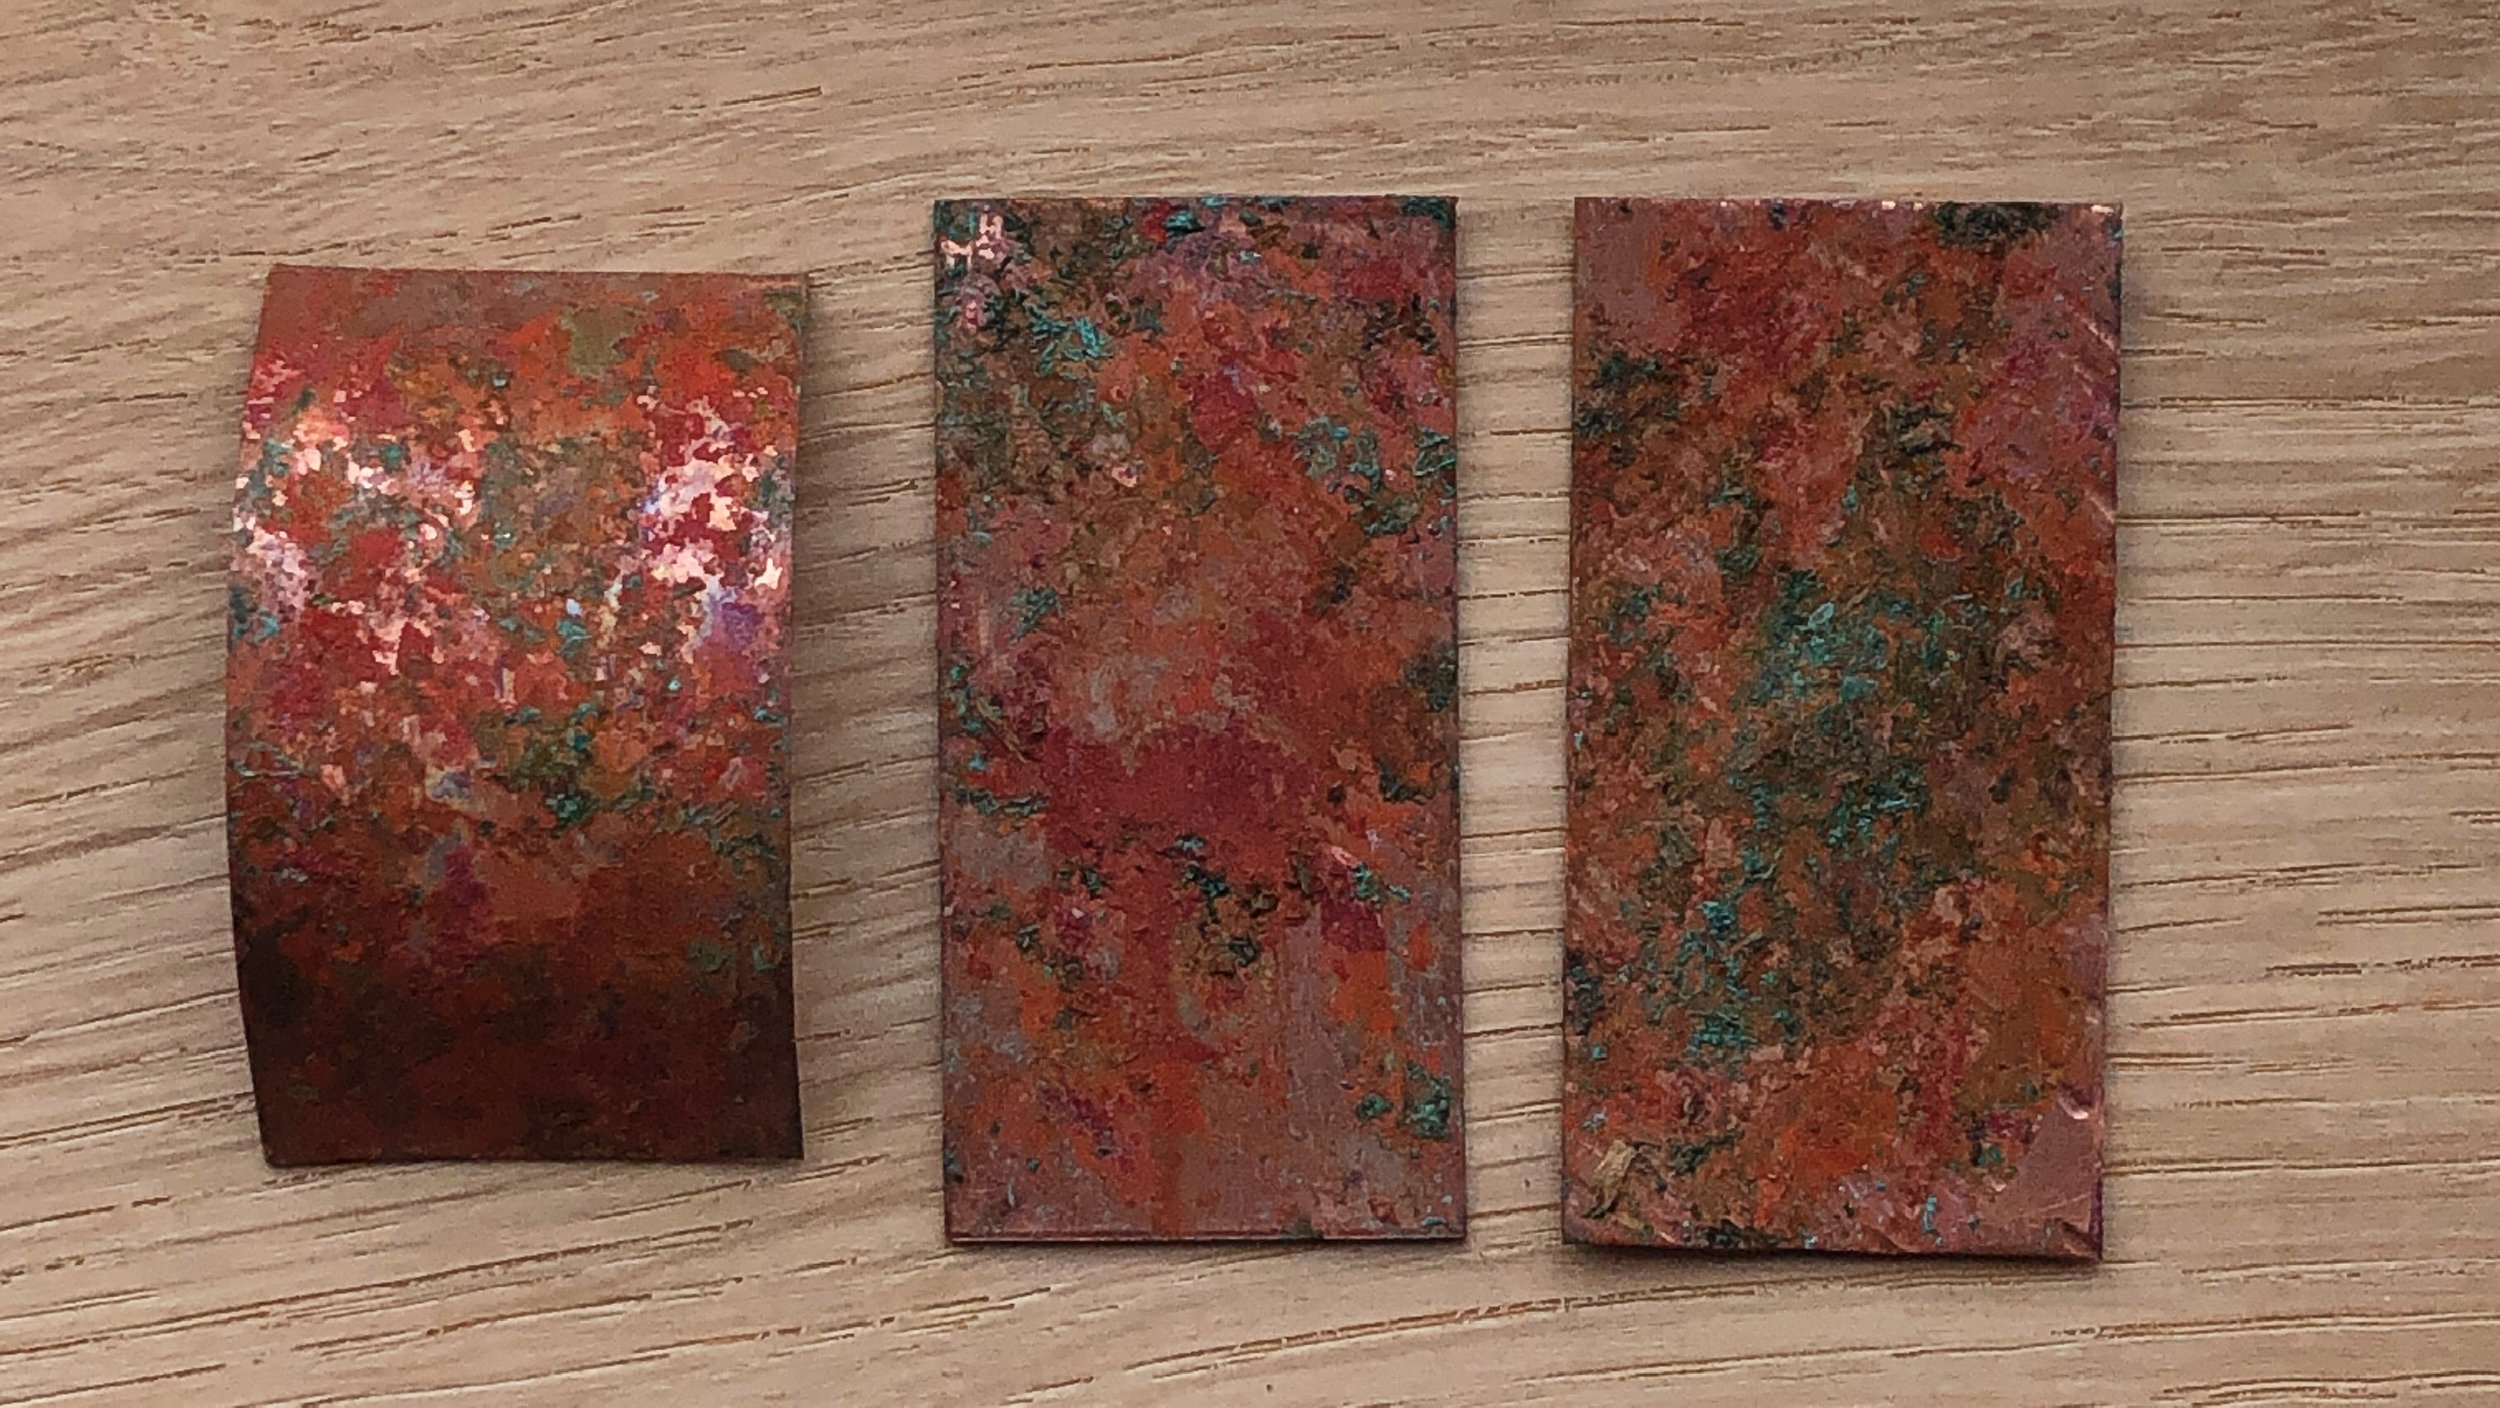
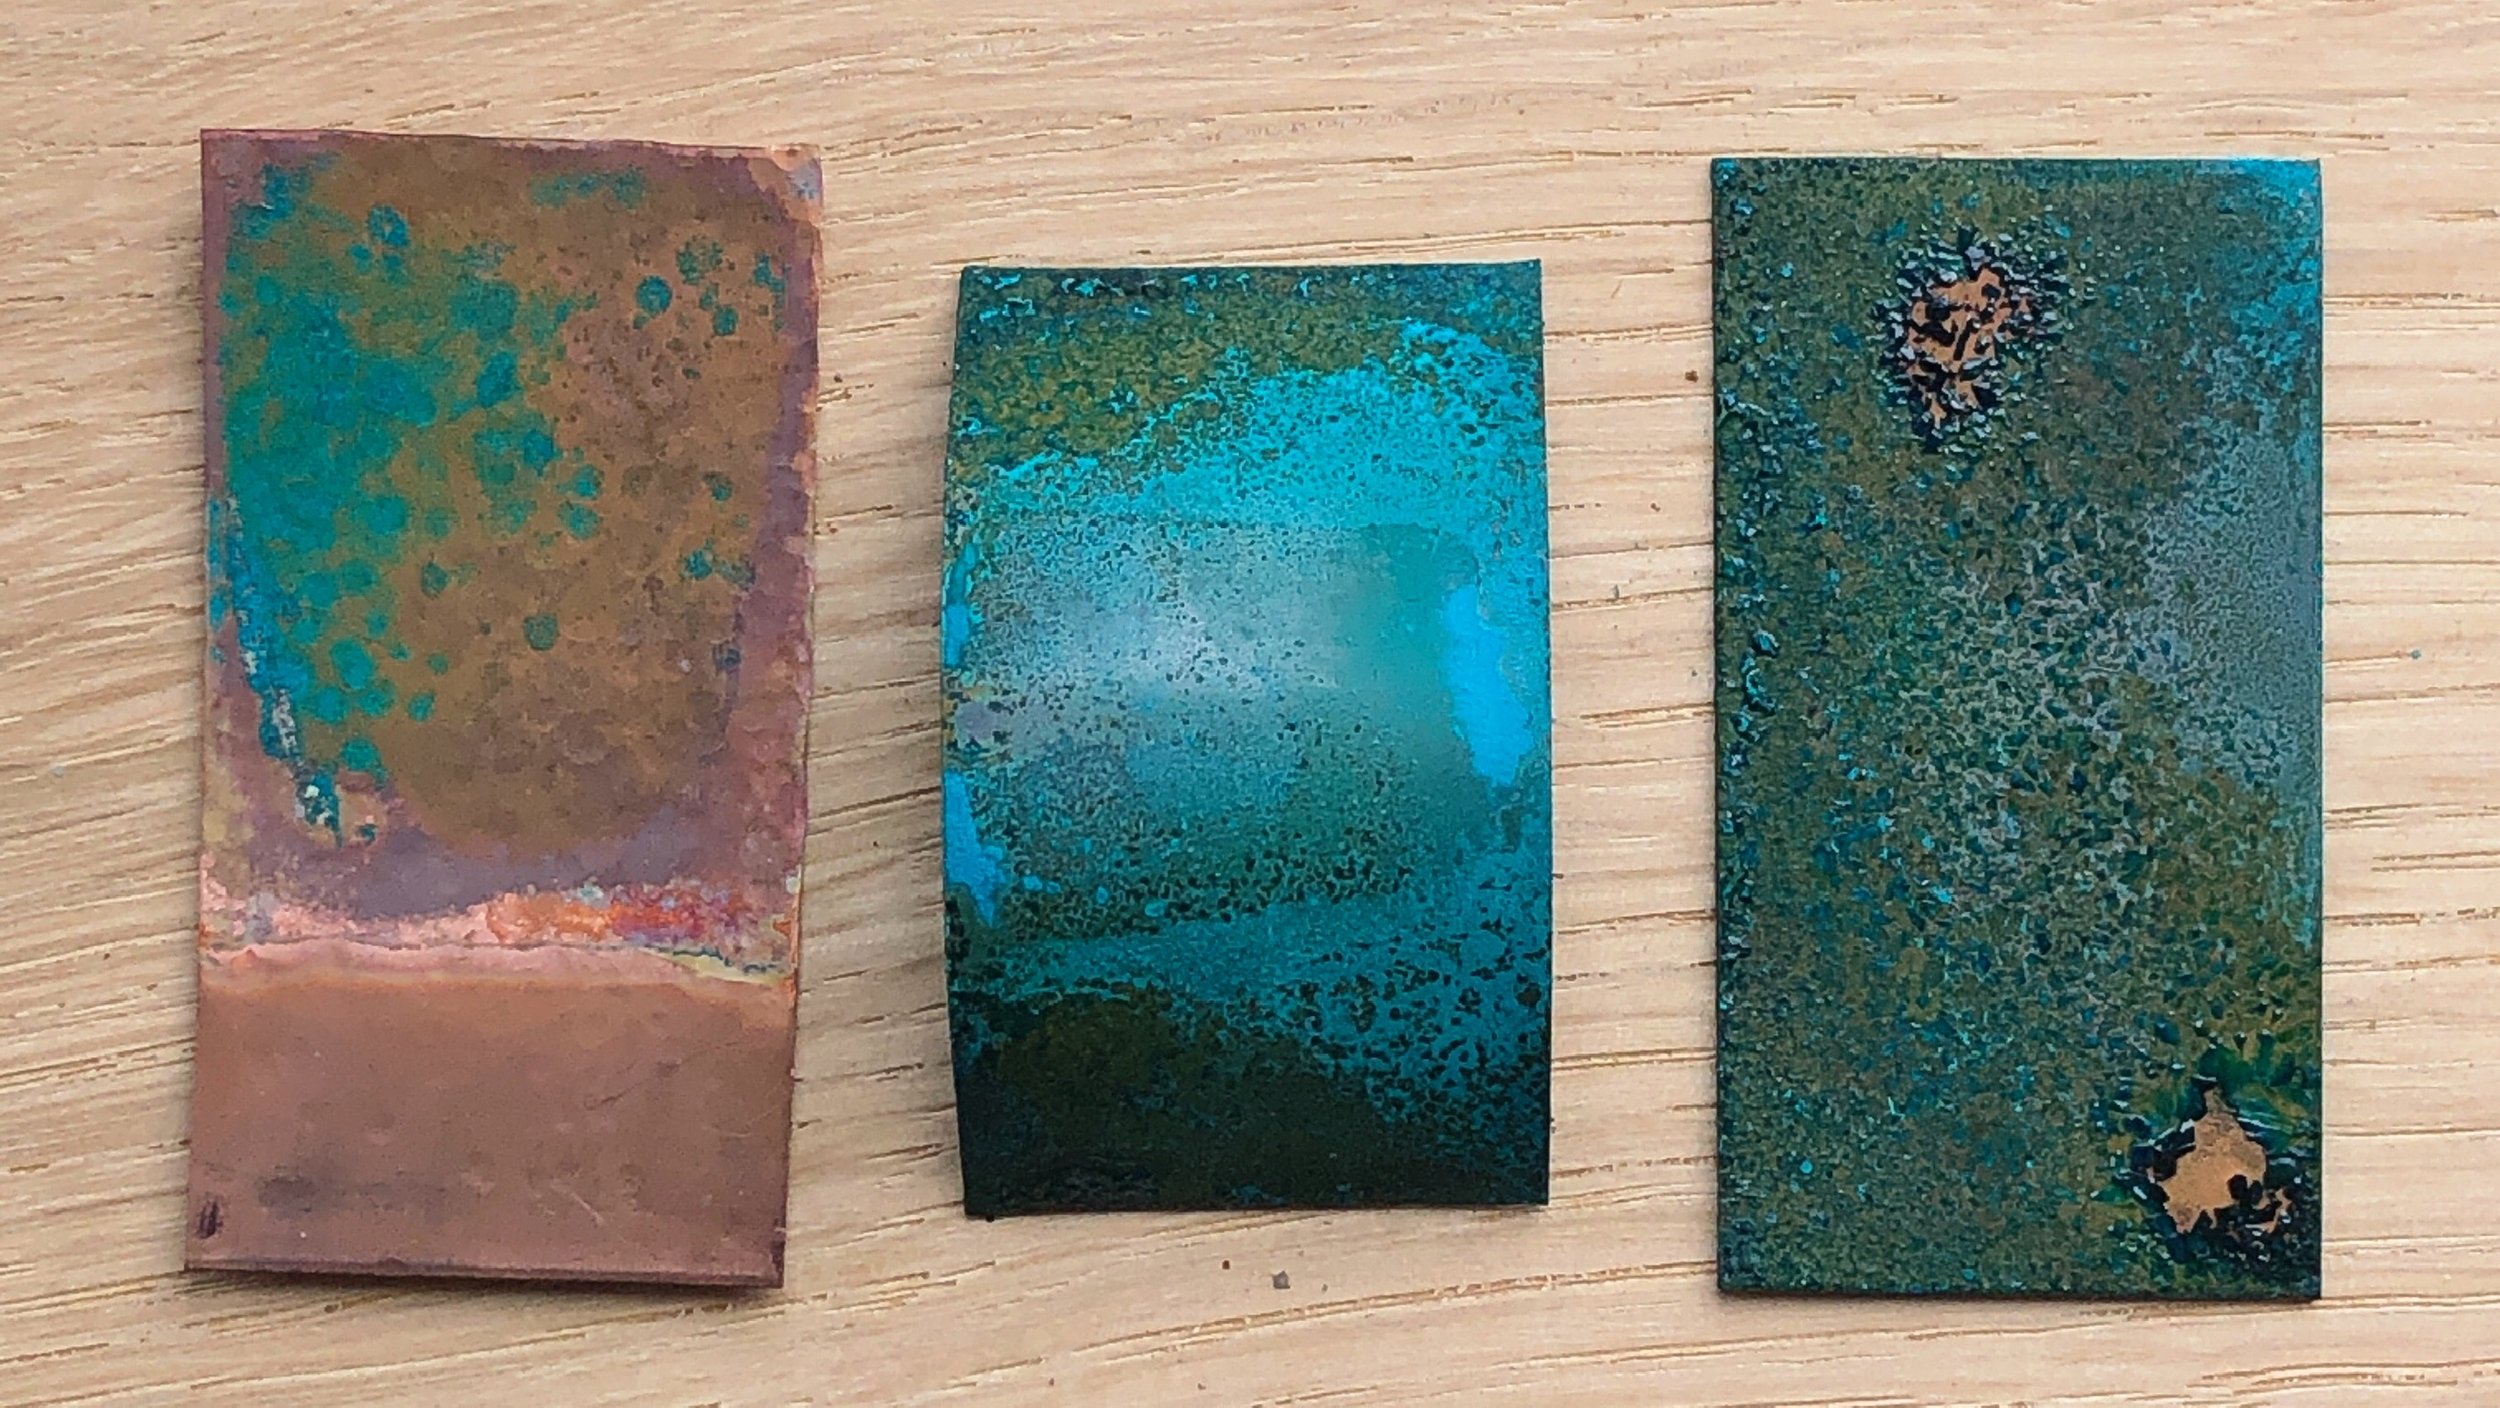
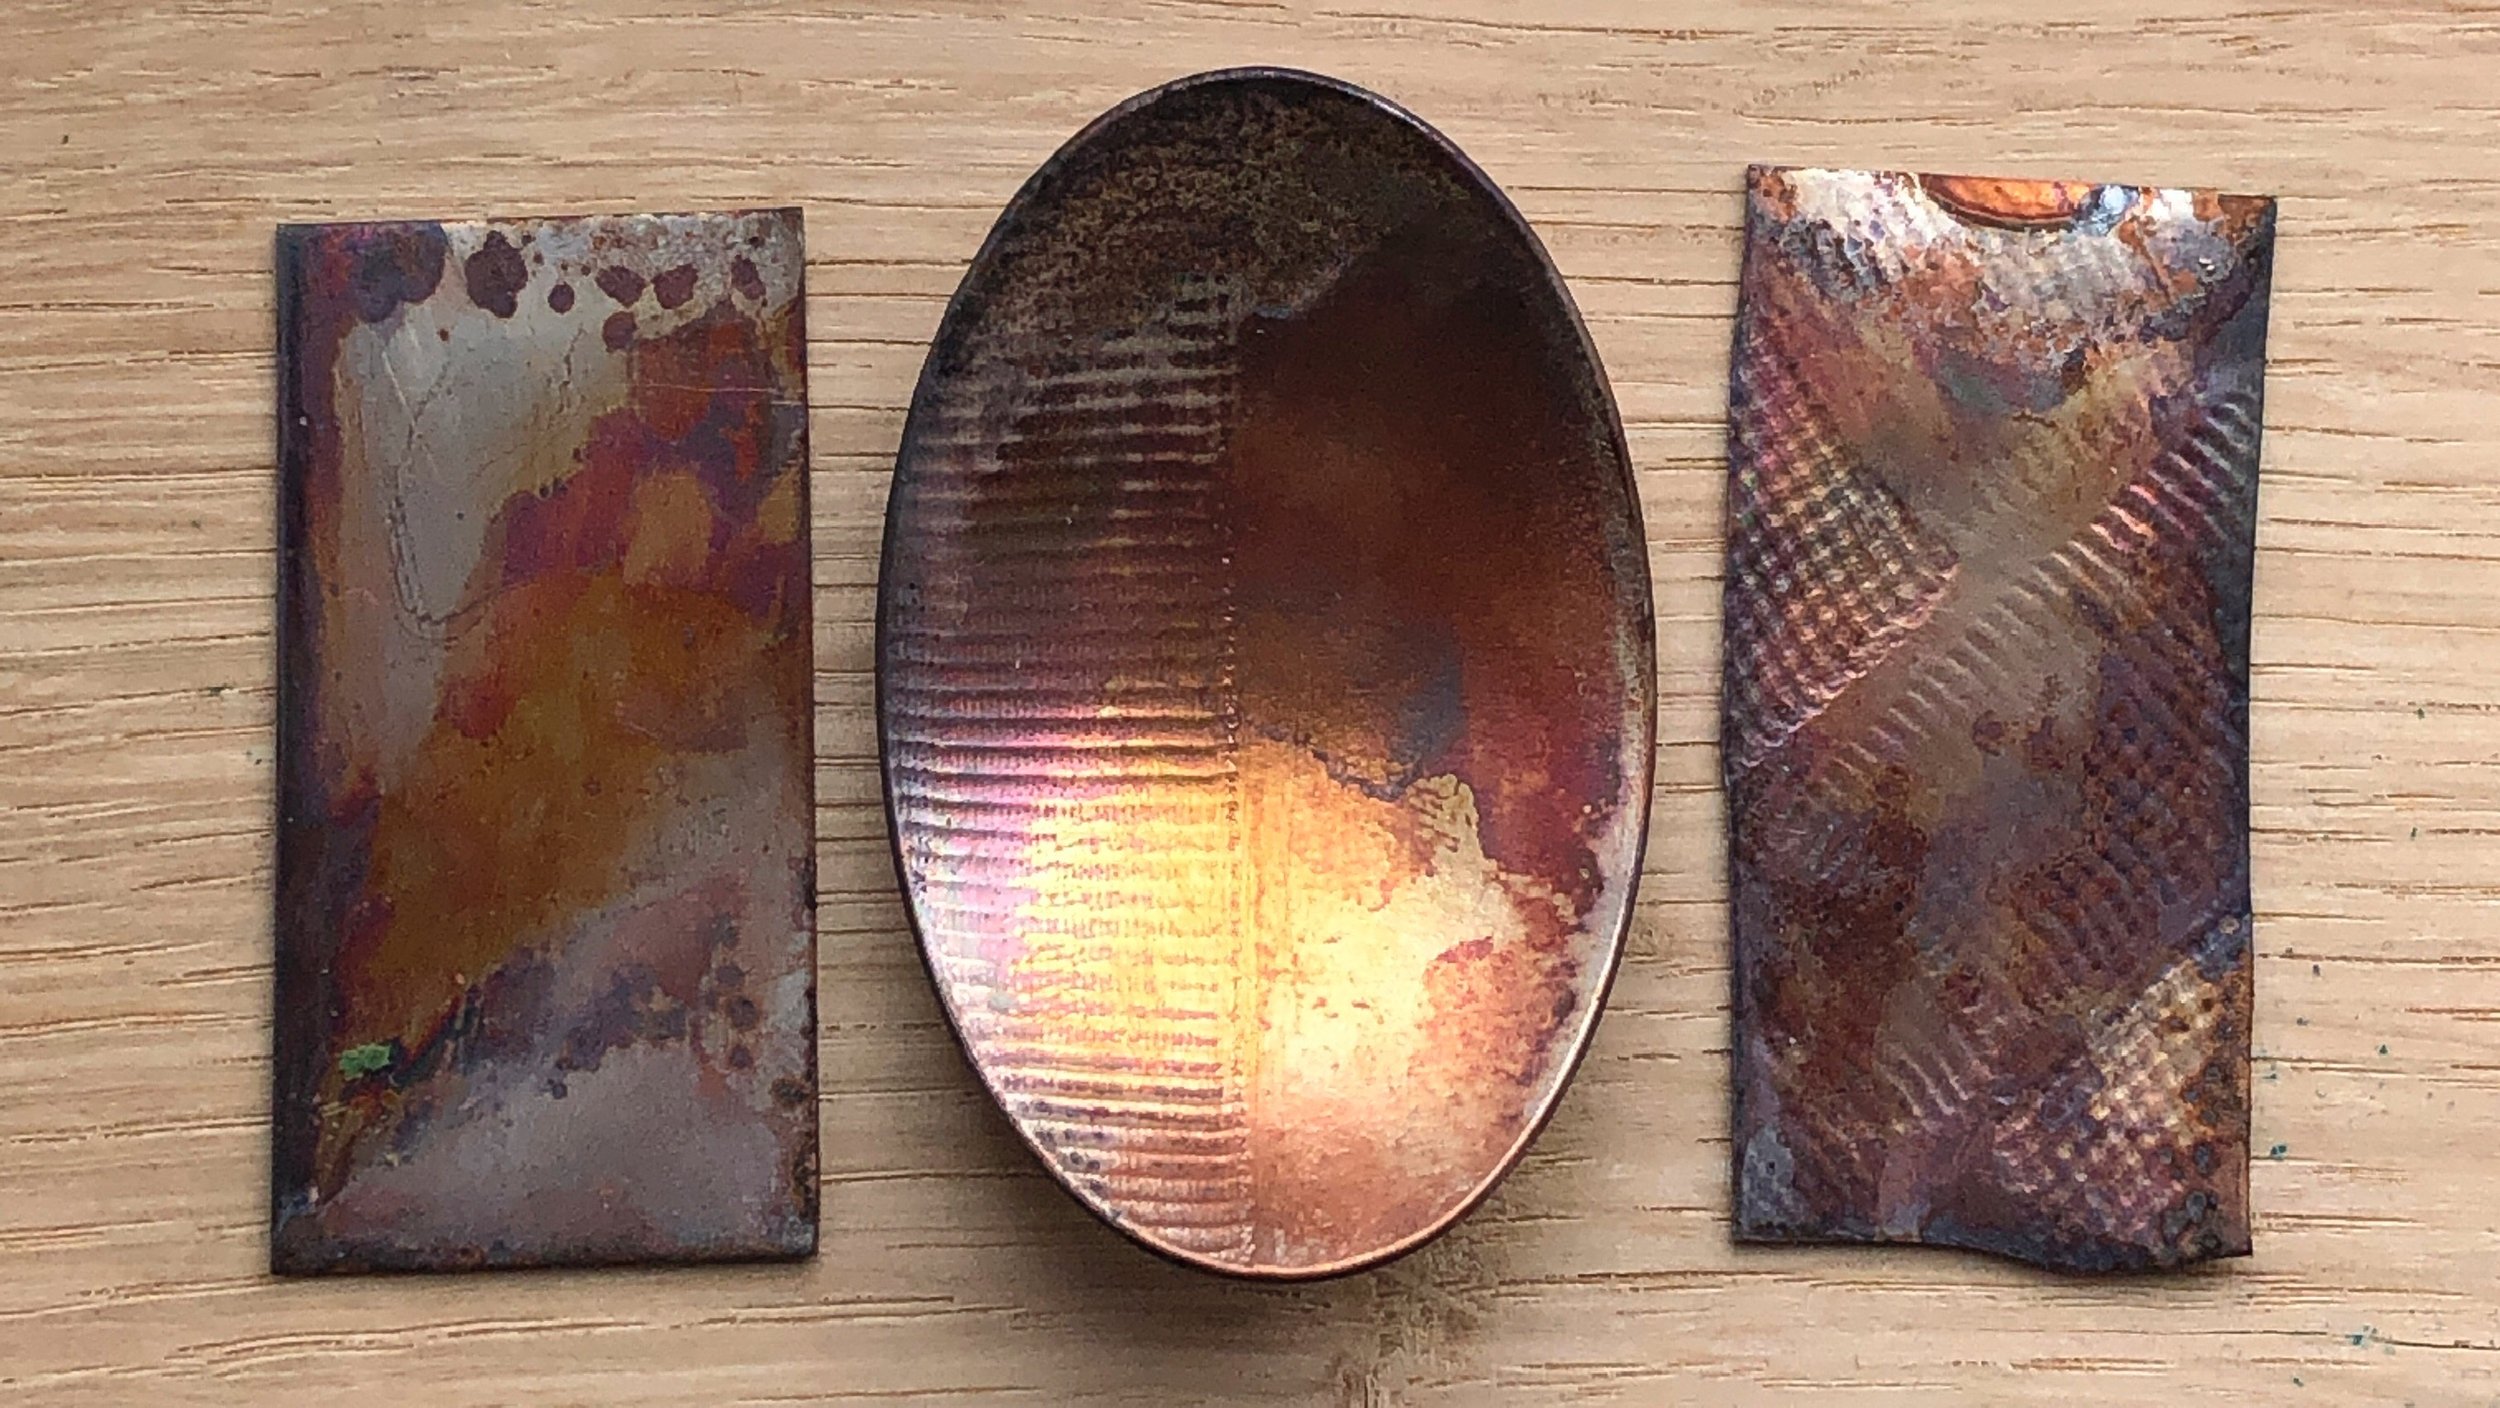
Starting from the top these three sets of samples have been created using:
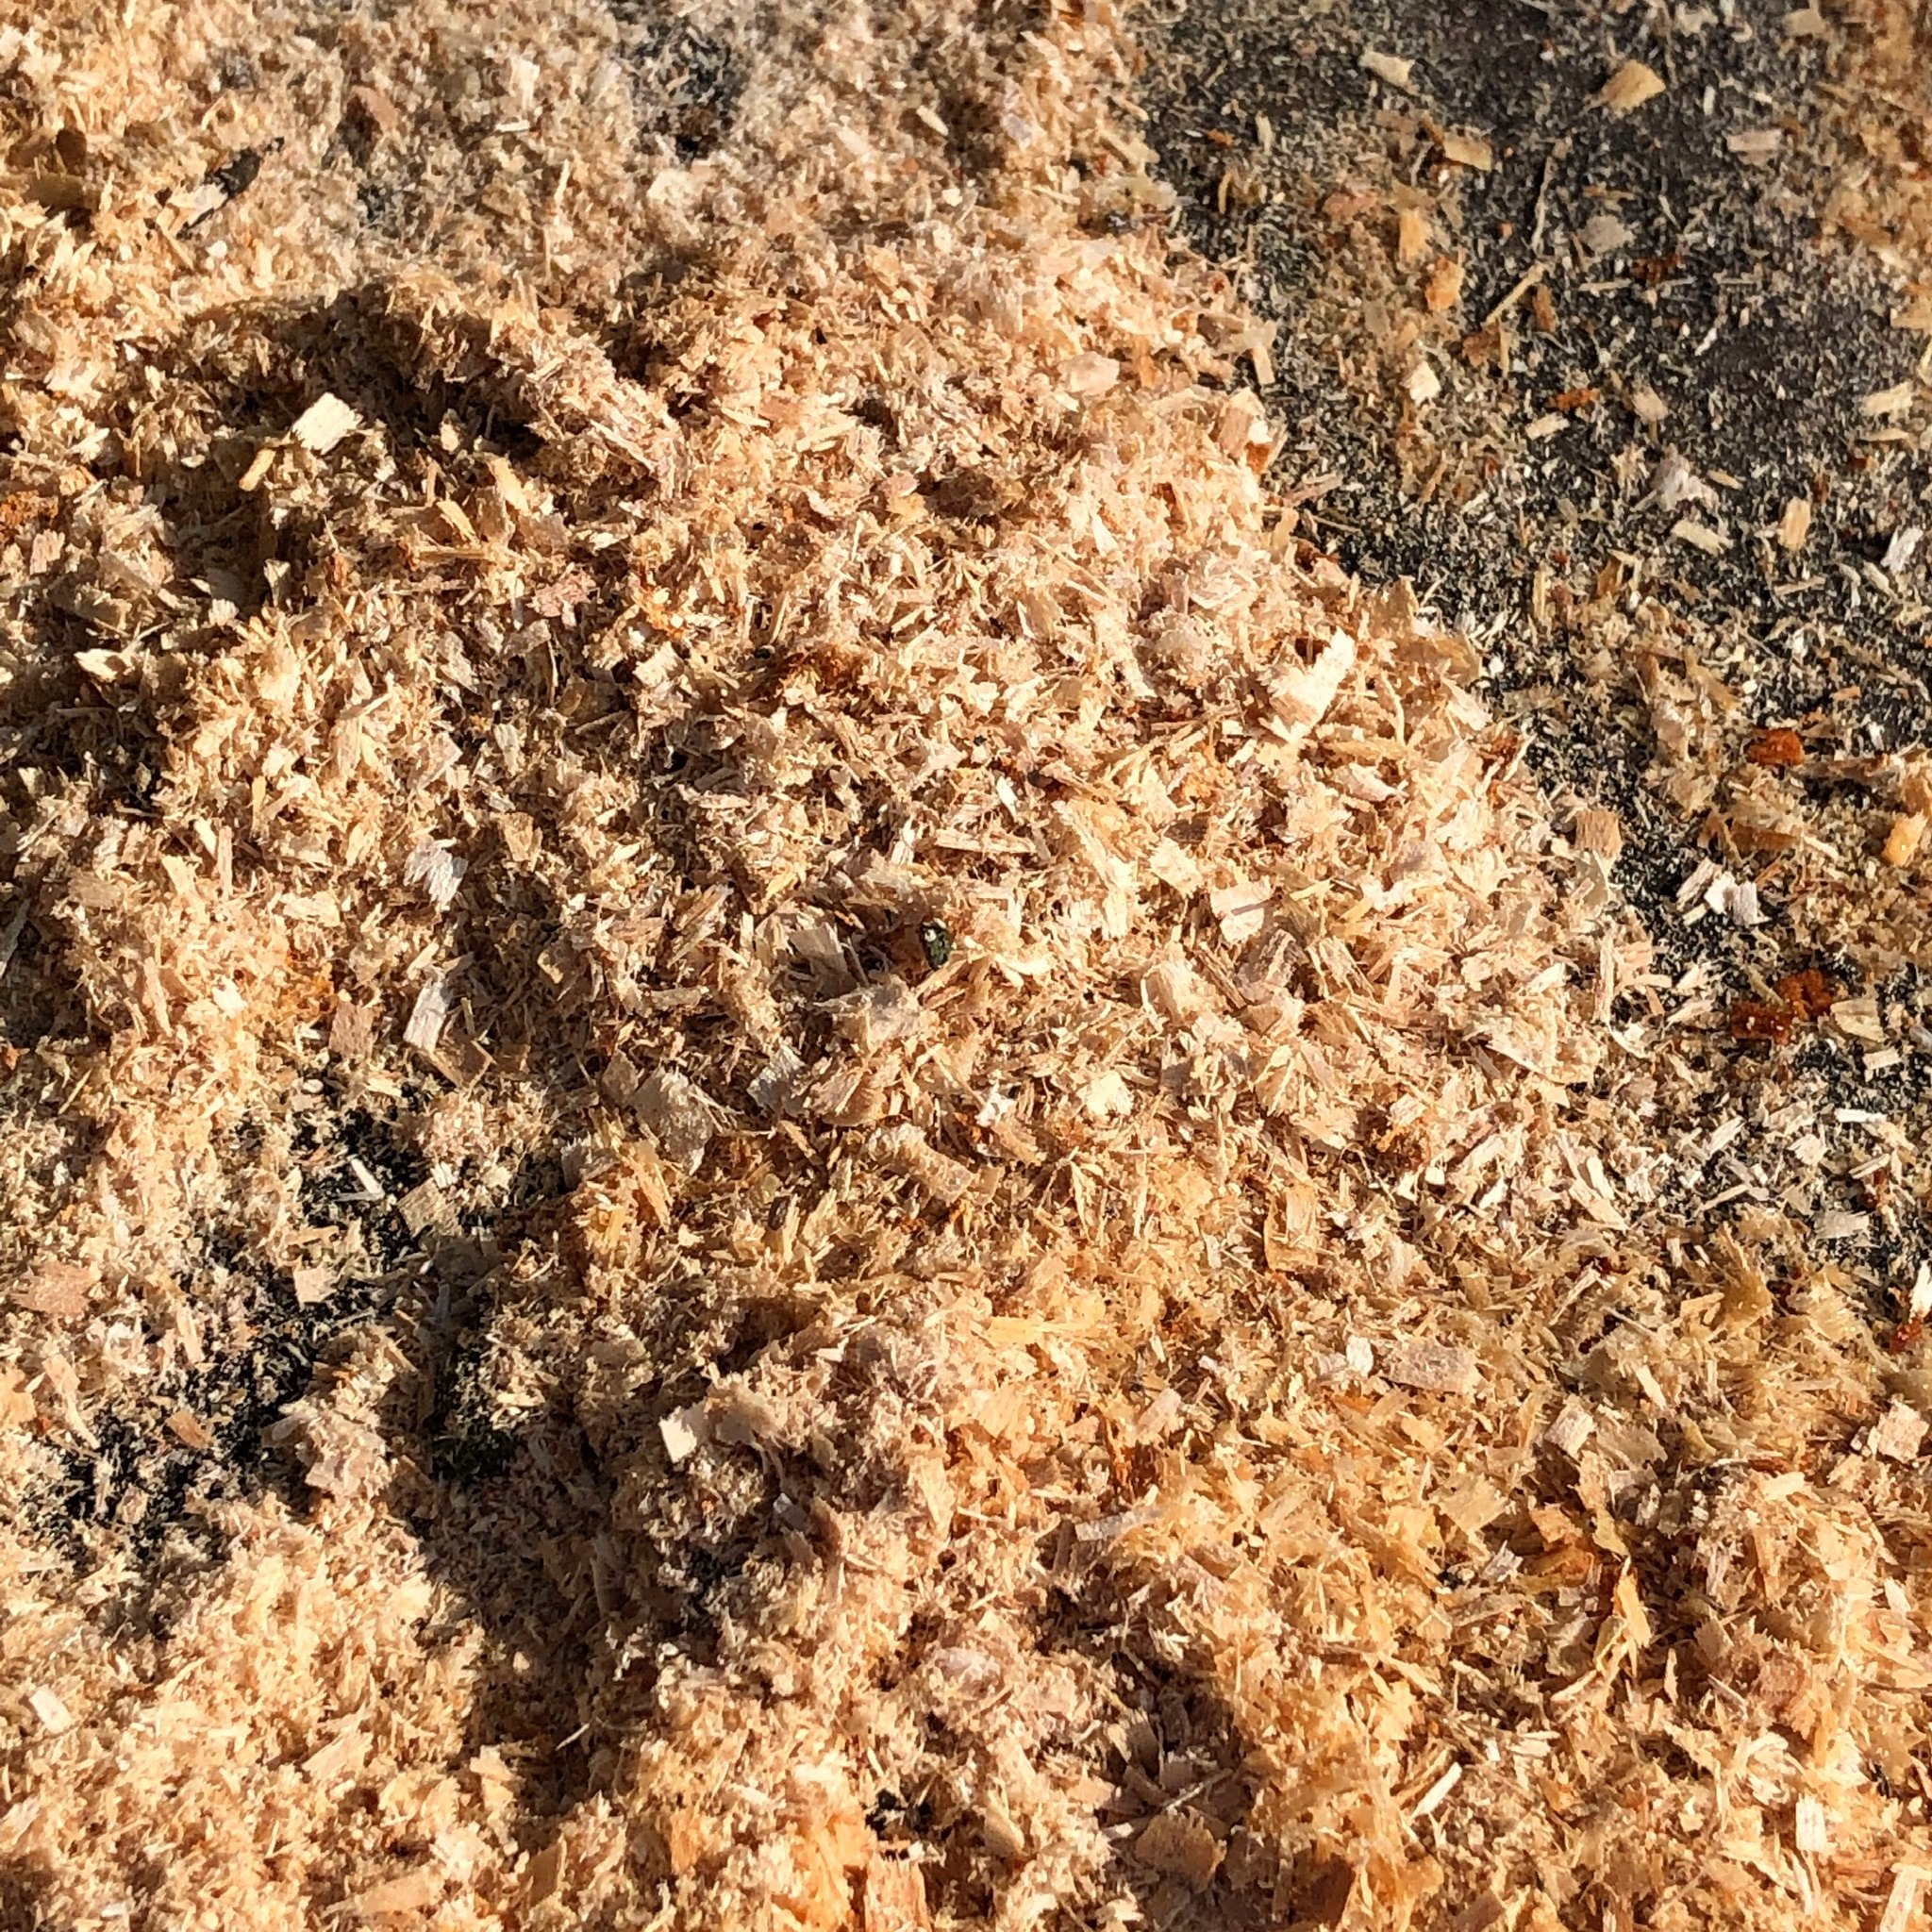
soy sauce & sawdust
apple cider vinegar
over boiled eggs
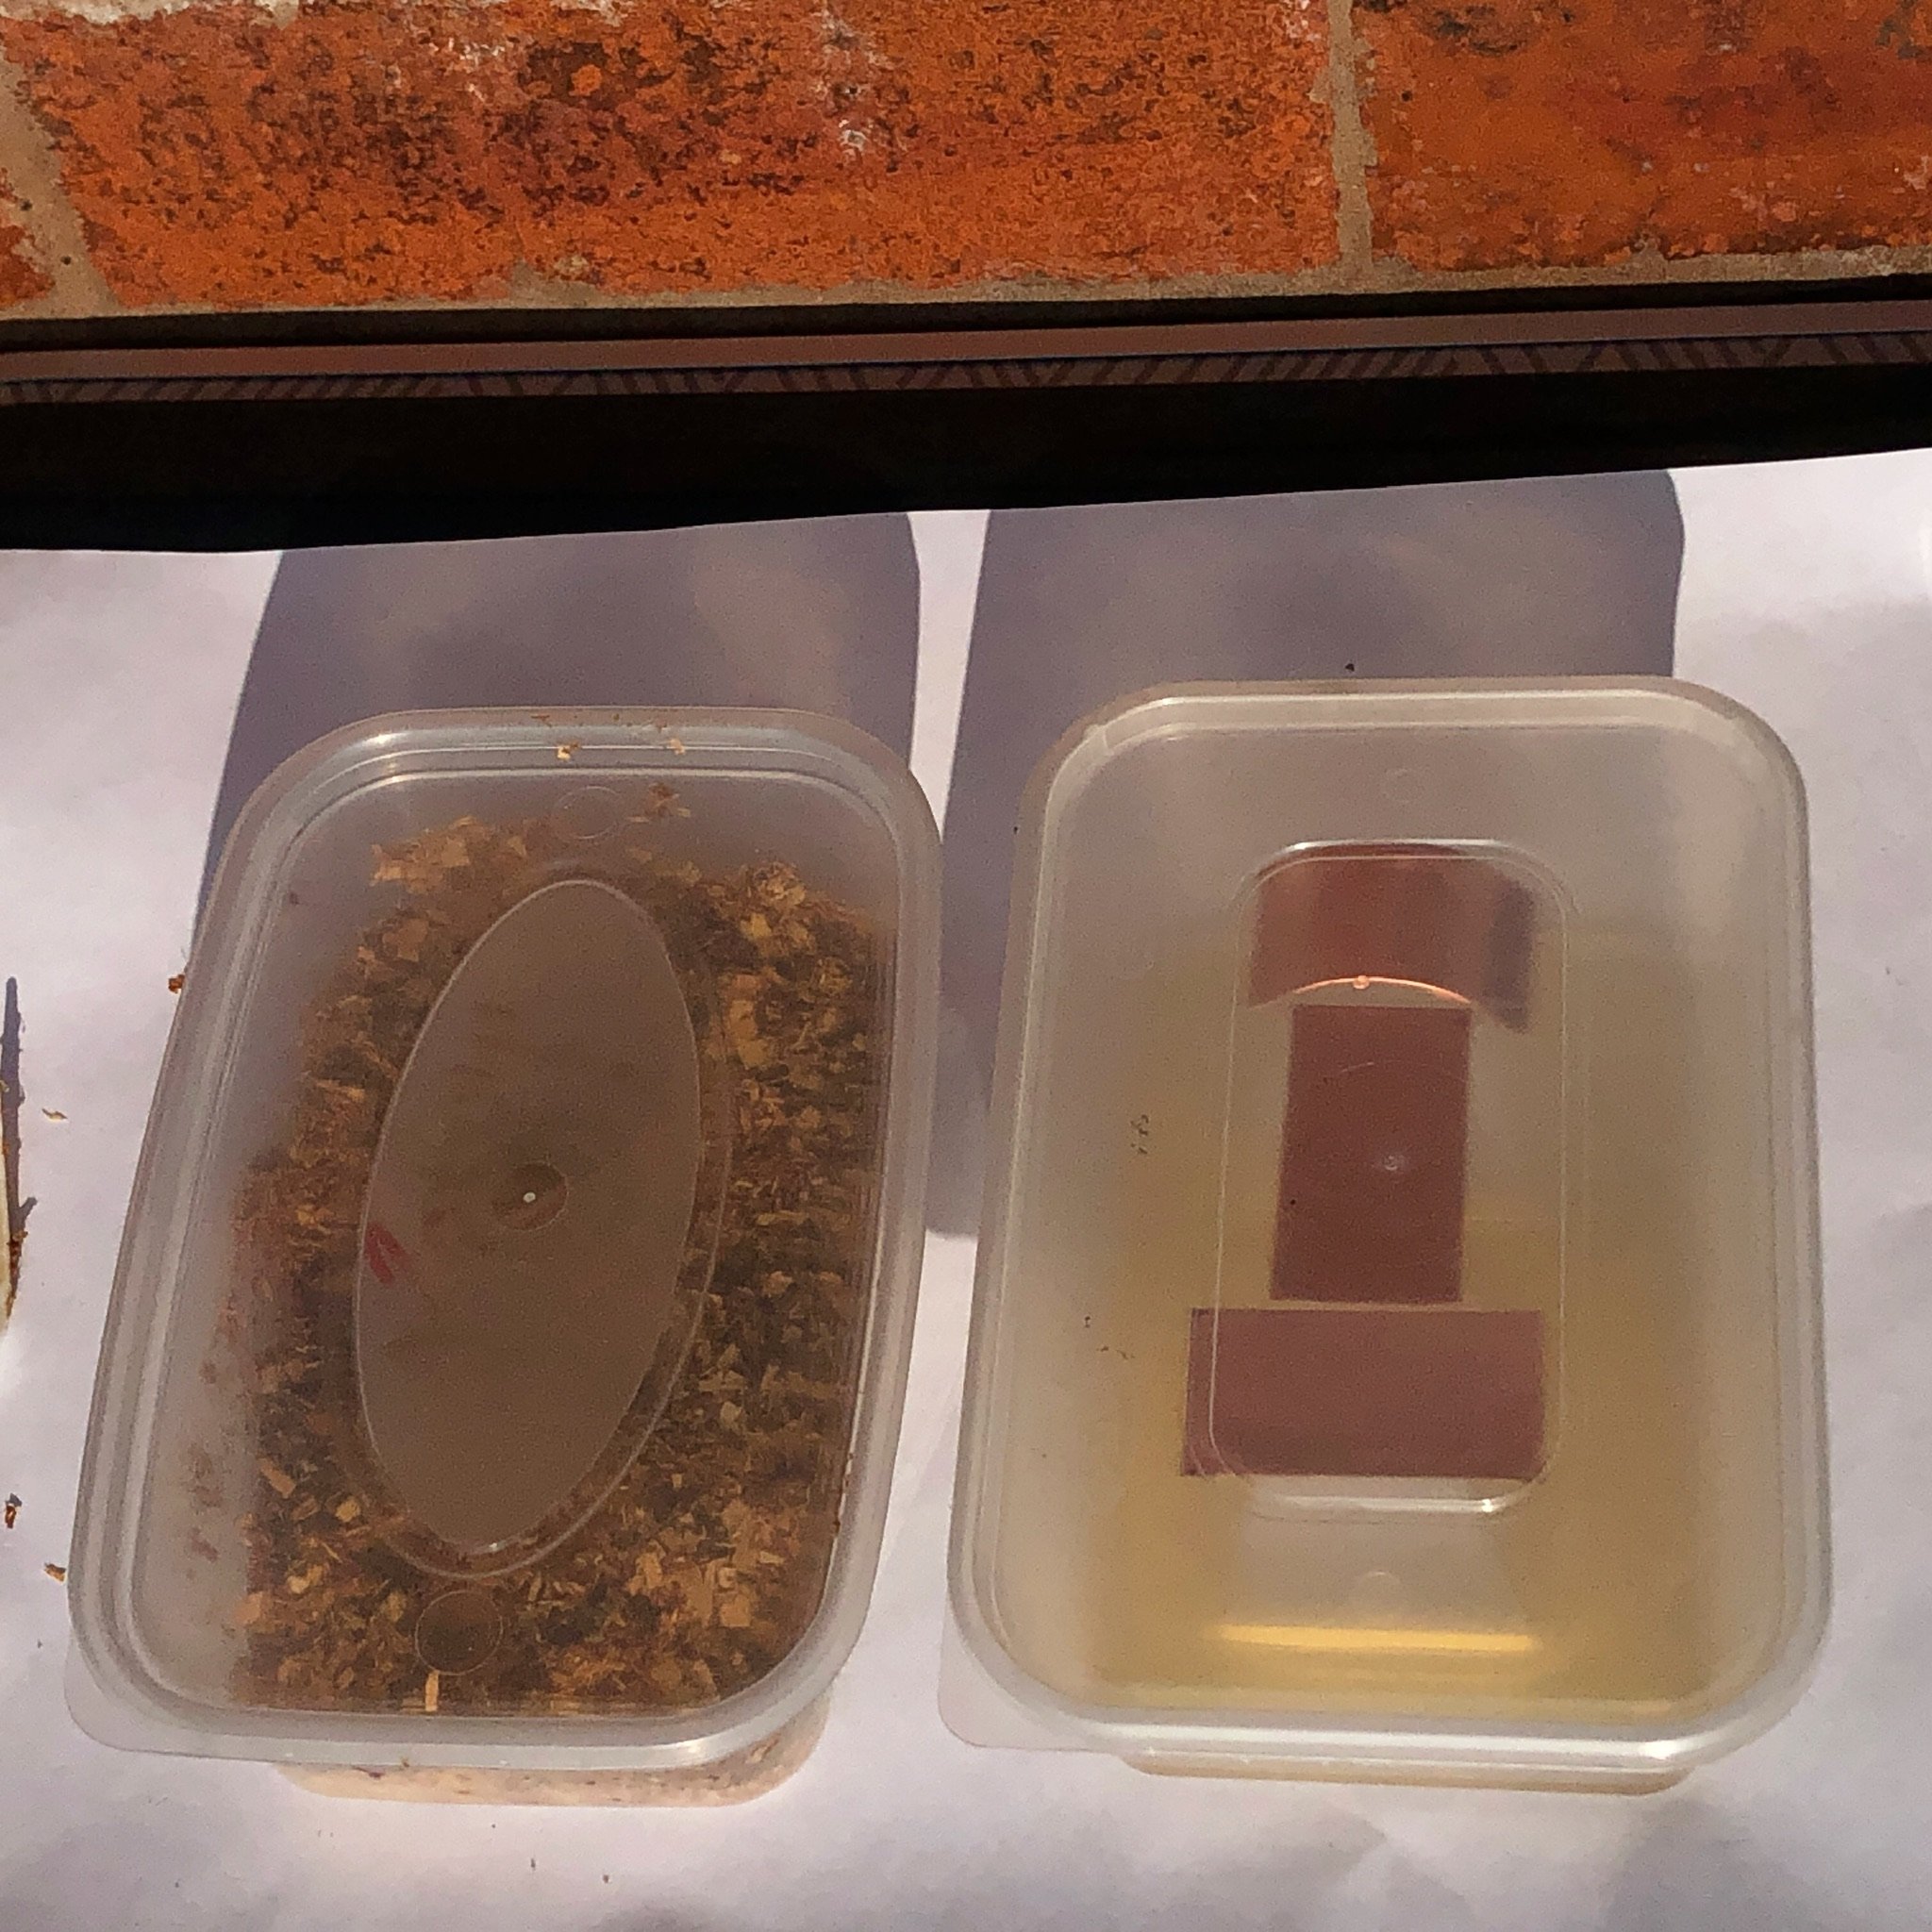
For both the soy sauce/sawdust and the eggs the metal was in contact with the ingredients and inside an airtight container, whereas the apple cider vinegar was used for its fumes, so the metal was elevated inside the container and not in direct contact. One of the first mistakes I made was putting some of the apple cider vinegar samples into water afterwards and inadvertently washing most of the colour away! I simply put them back into the airtight container for another day, except for one (on the left of the blues) as a reminder of what not to do. If in doubt leave to AIR DRY.
I very often work with textured surfaces due to the hammer raising process so I thought it would be interesting to try some different textures with the patination. I think this works quite well with the egg samples (bottom) but you can’t actually see the texture on the soy sauce samples (top) under the beautiful colours. For future samples I will try rubbing back the patination where the texture is, a bit like the oxidised vessels I already make, to see what happens. All I know is this has inspired so many more ideas for experimenting.
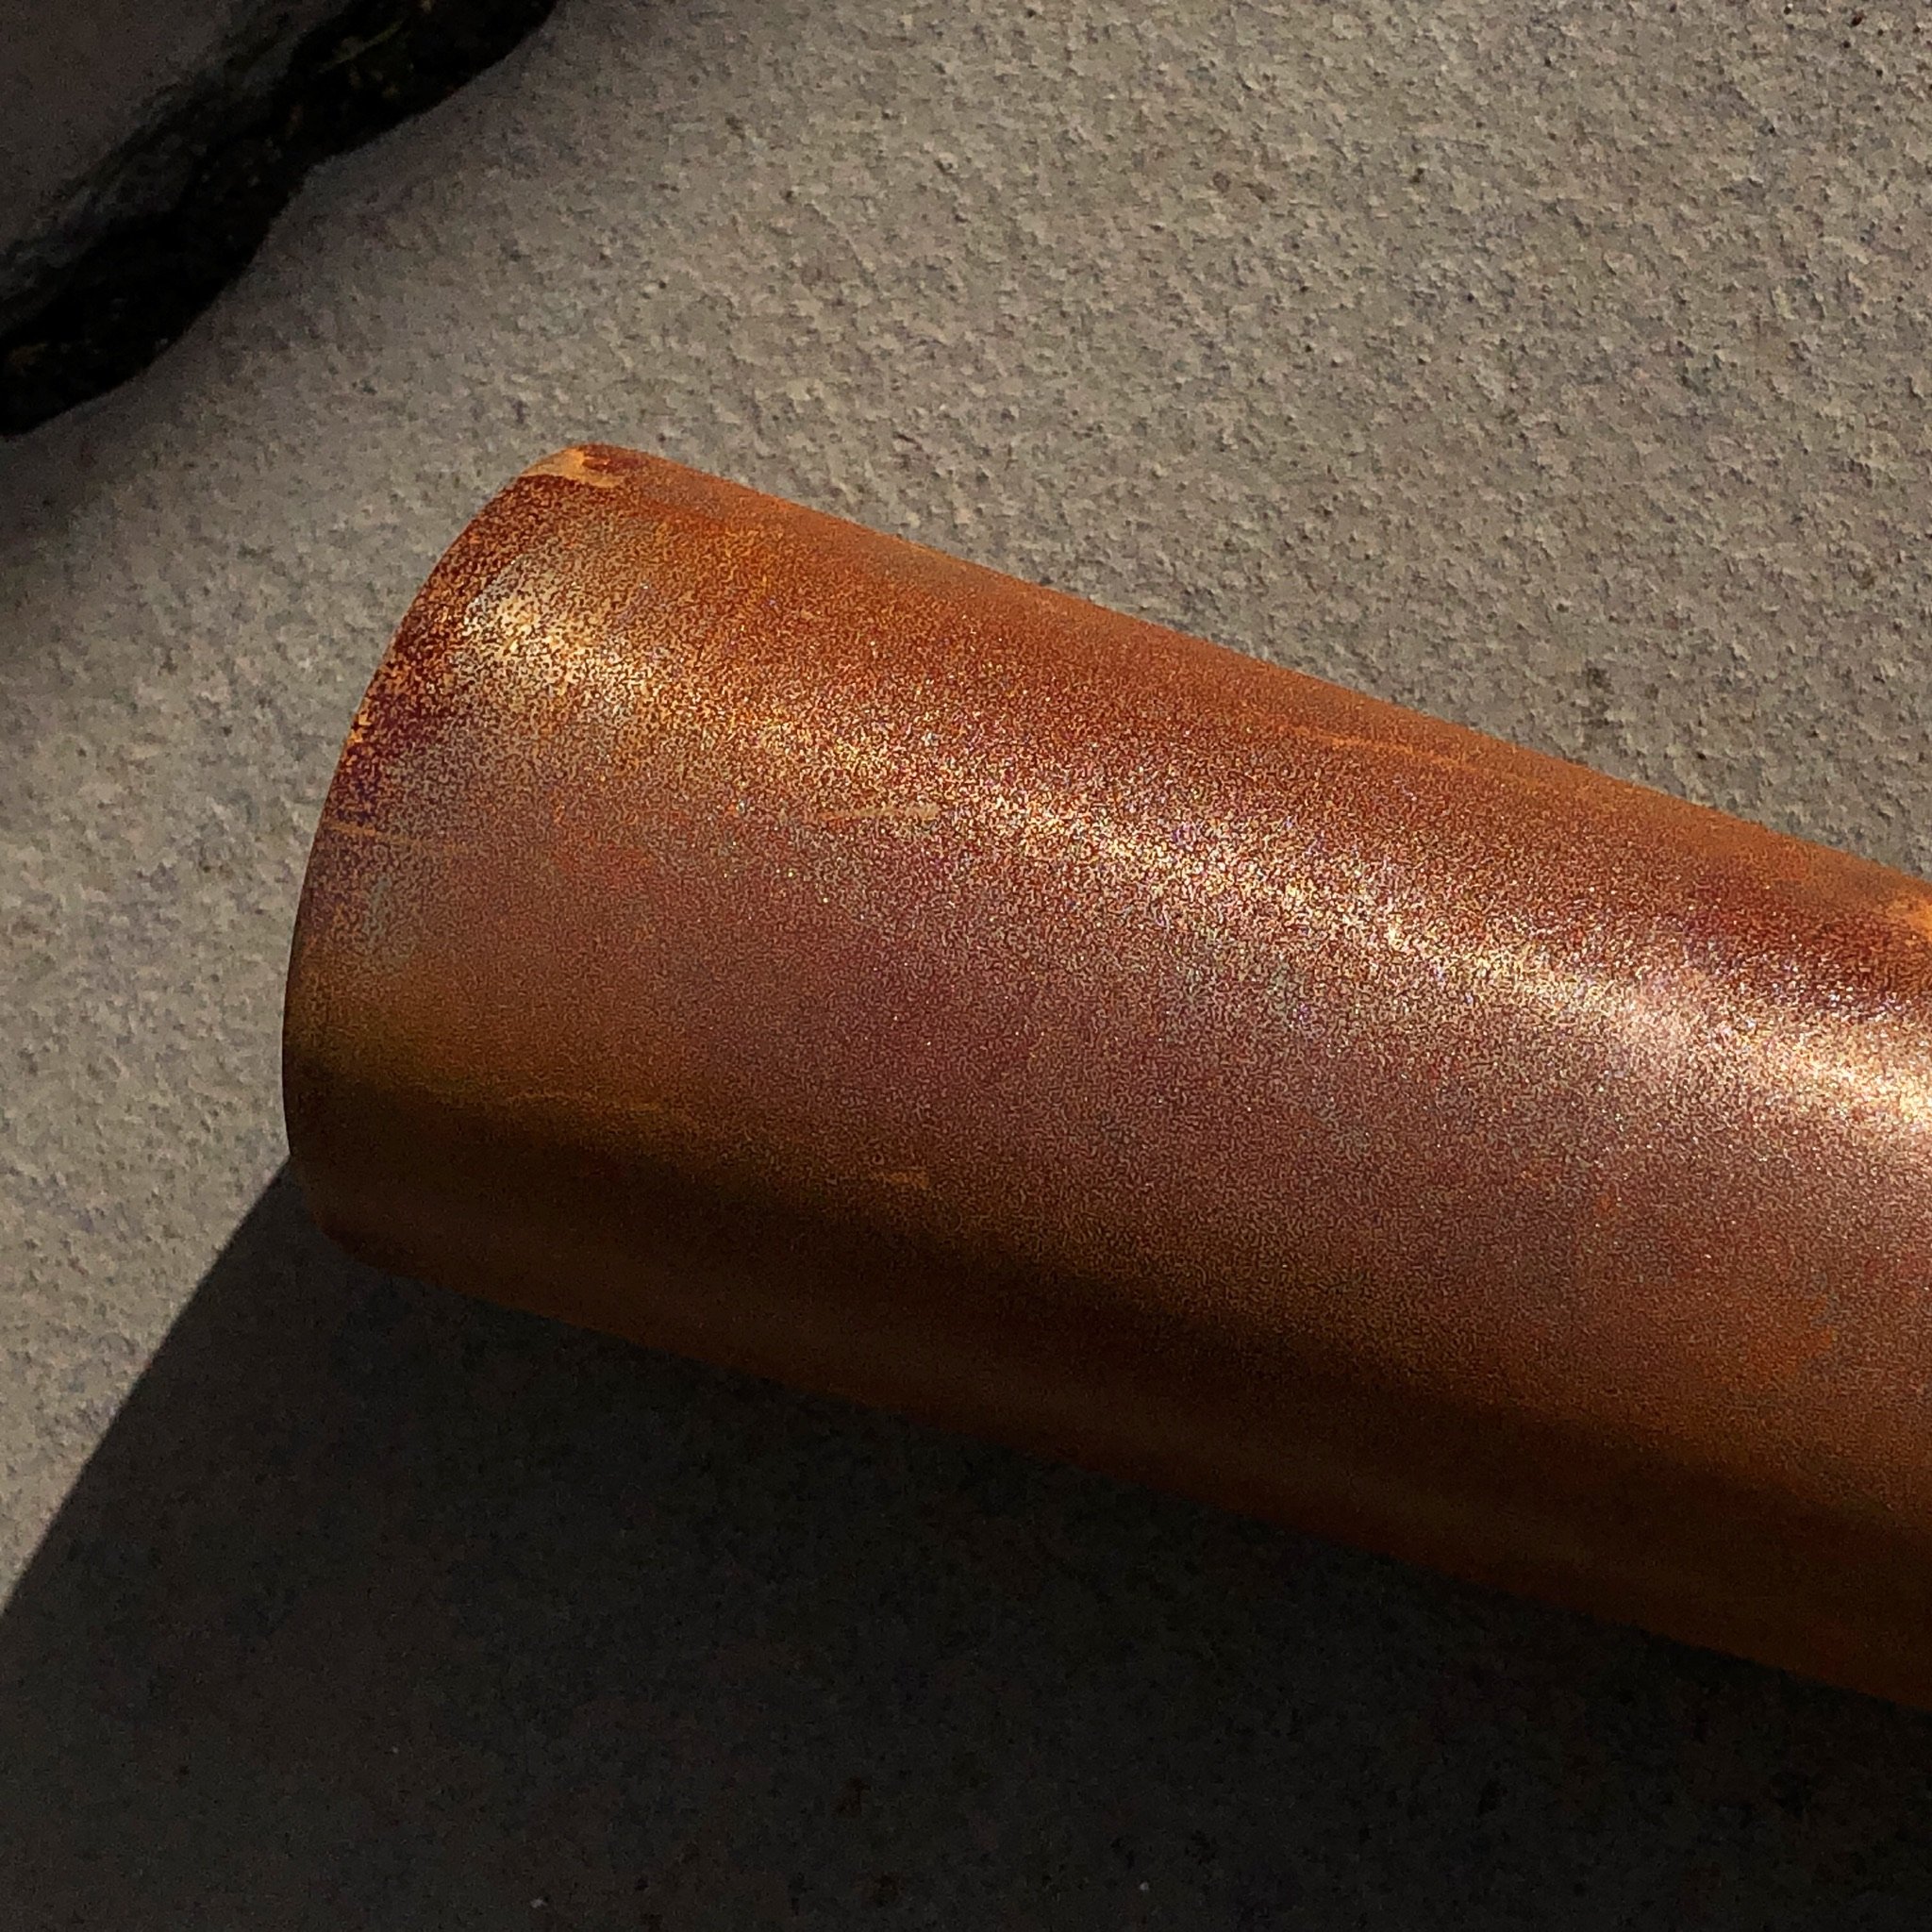
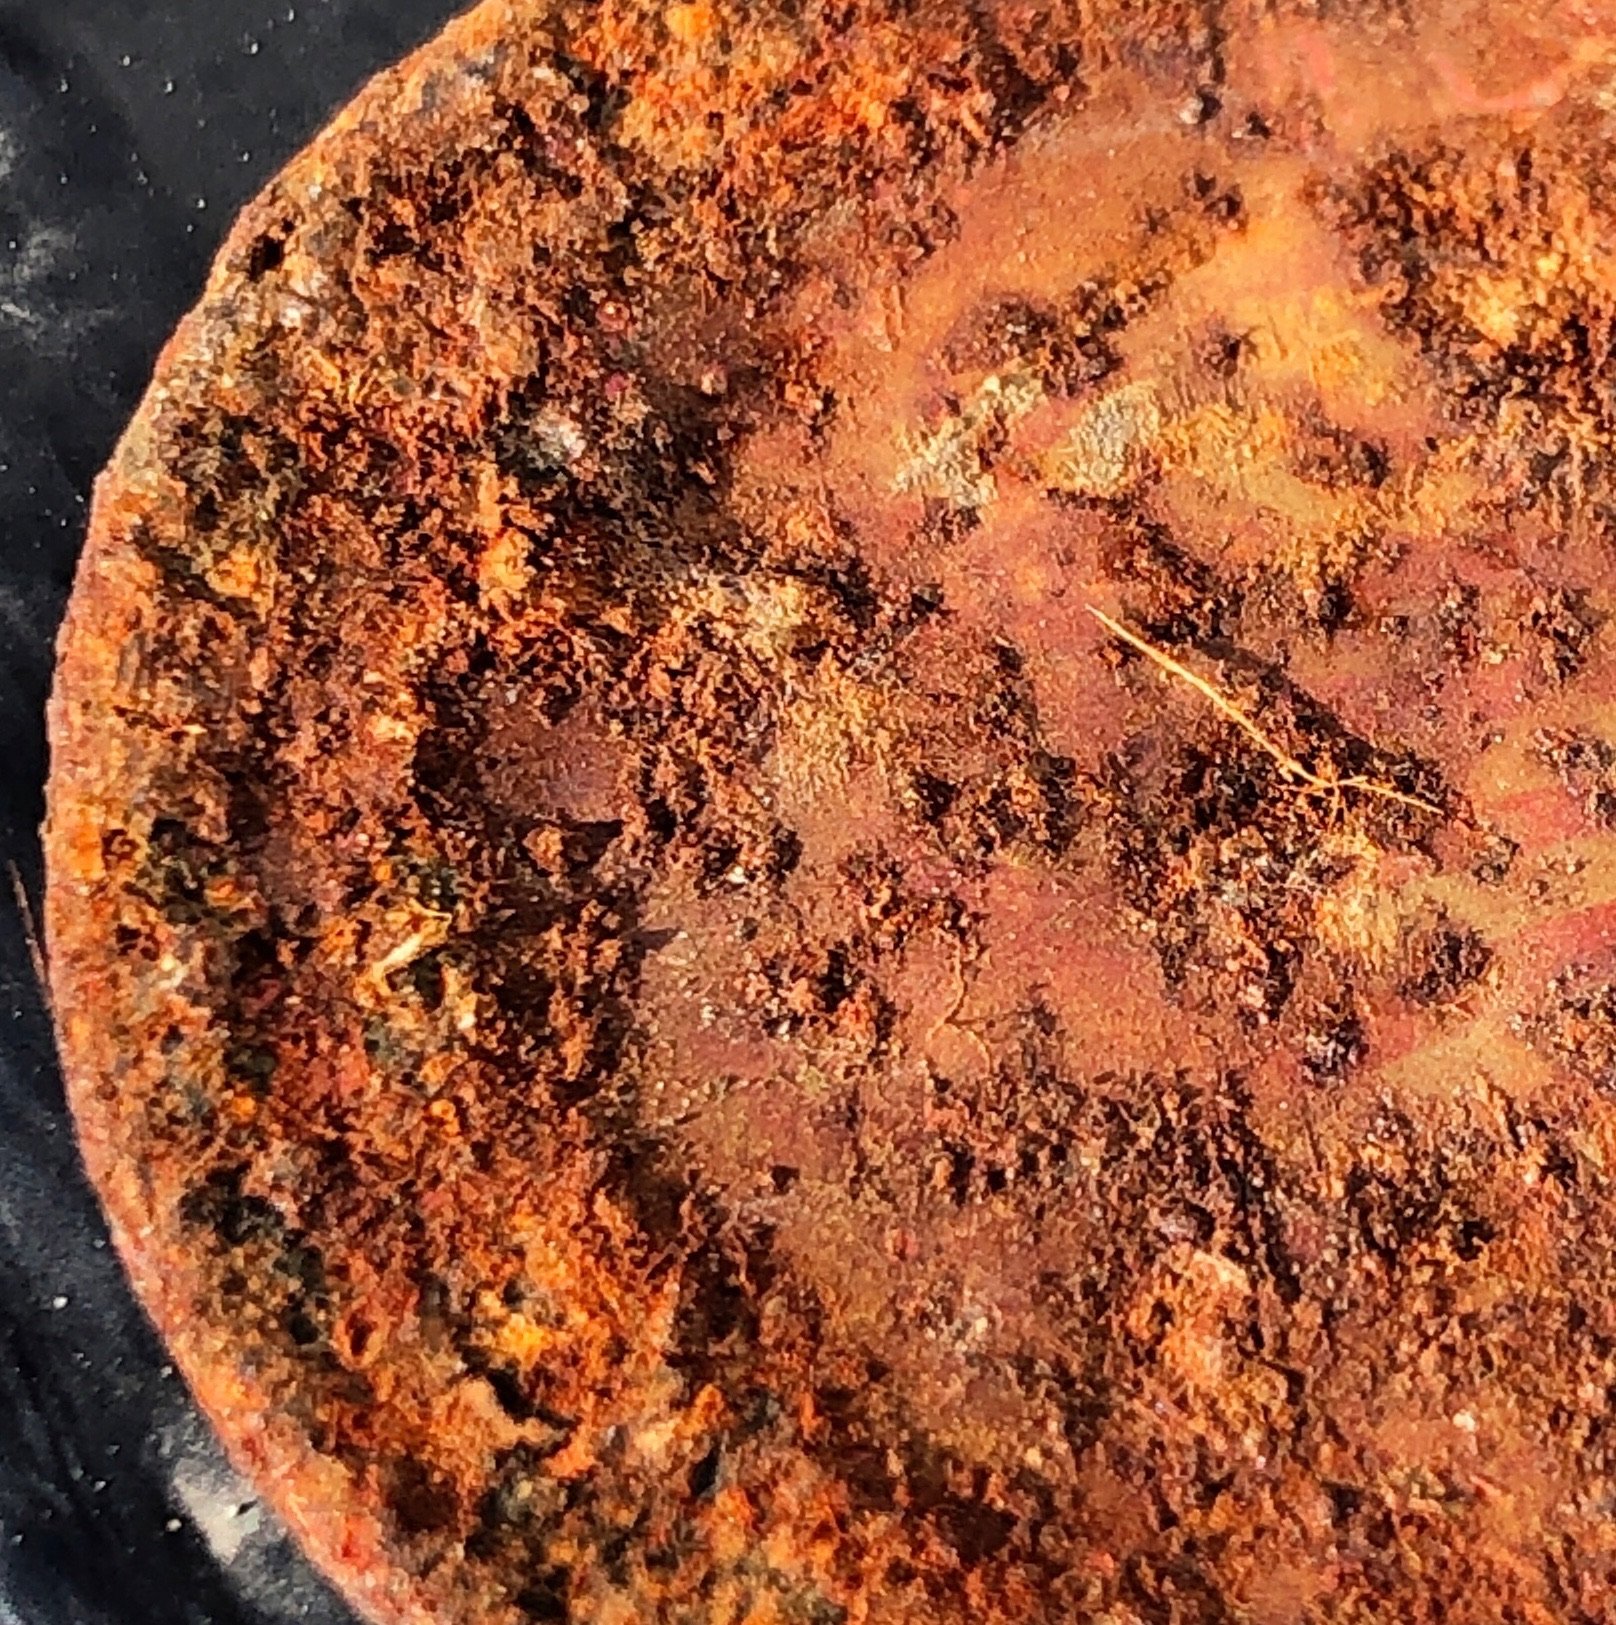
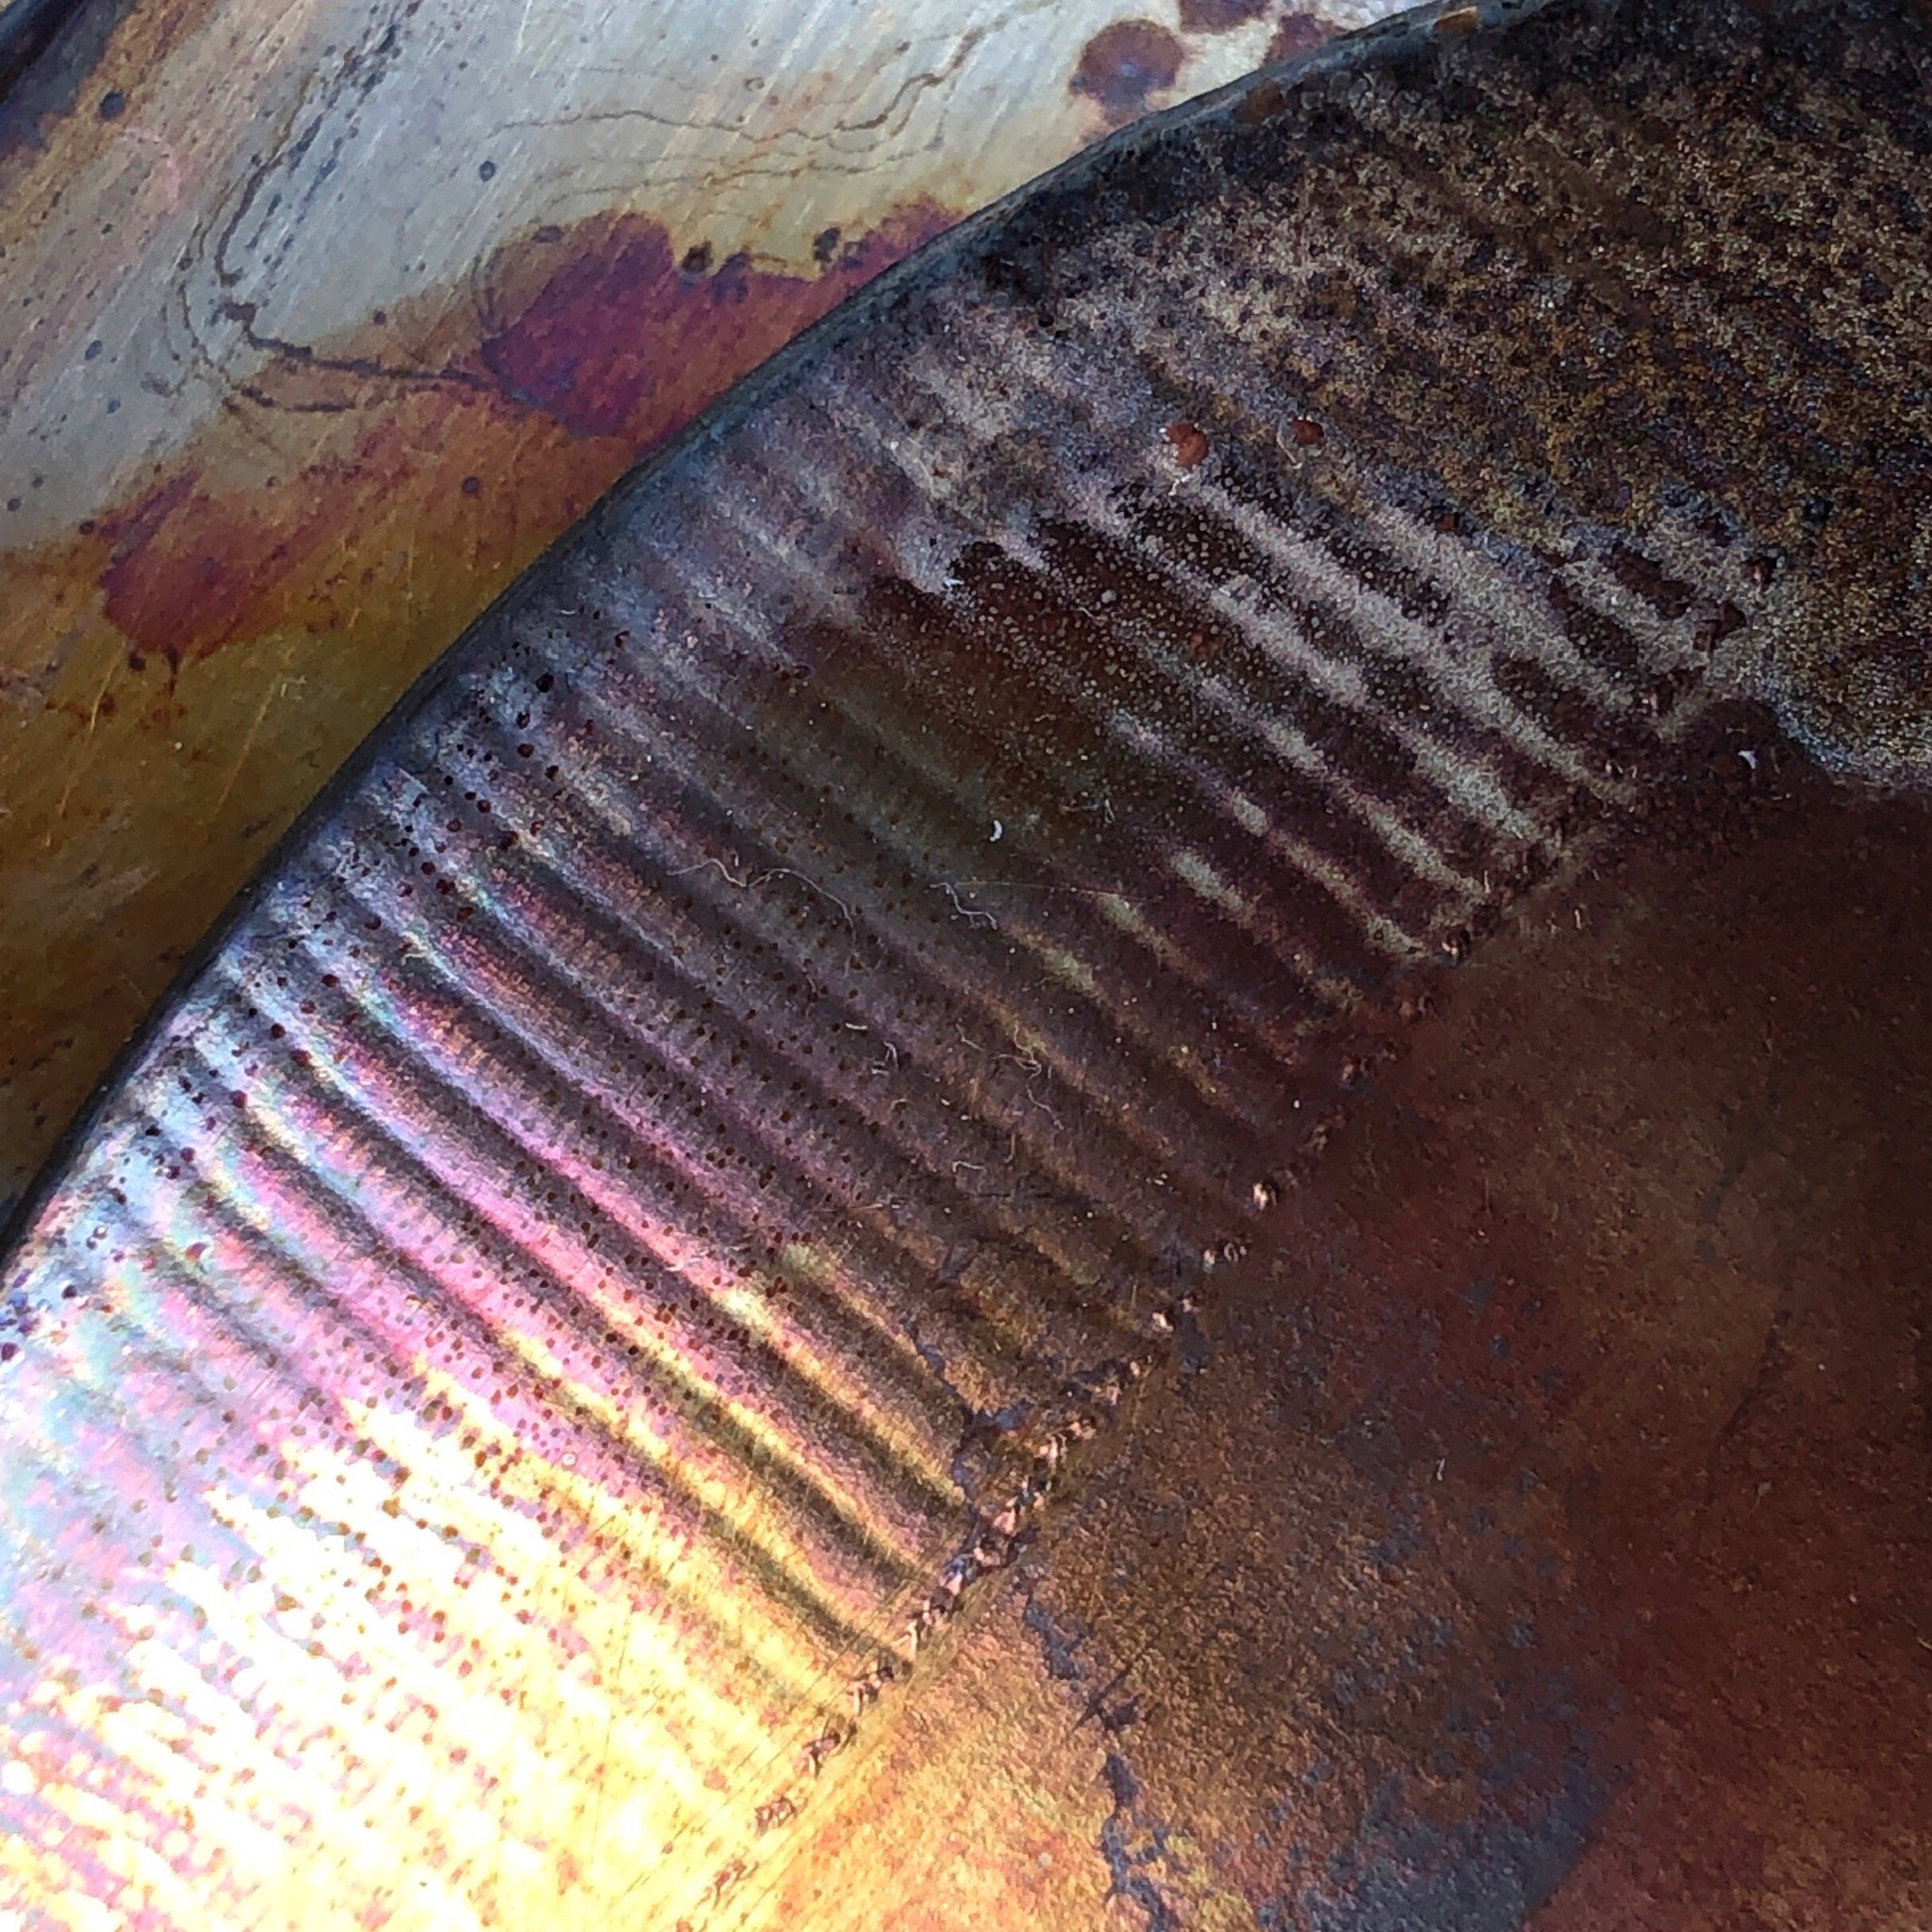
Accidental patination - rusty steel bangle mandrel.
Exciting times!
As these are my very first samples the results are still slightly elusive, I think like everything the more I do the more predictable the outcome will be. This has been a brilliant and quite exciting start to the journey and I can’t wait to experiment some more. I have loads of recipes to follow but in time I will begin to try out my own experiments to fit with the other elements of my project, more on this to follow next time.
Thanks for reading
Melissa x